Use screws, clips, or strong outdoor tape after choosing a sunny, clean, solid fence spot.
Learning how to attach solar lights to fence panels is simple when you match the mounting method to the fence material, light design, and local weather. This guide explains safe placement, tools, mounting options, common mistakes, and care tips so your fence lights stay bright and secure.

How to attach solar lights to fence safely
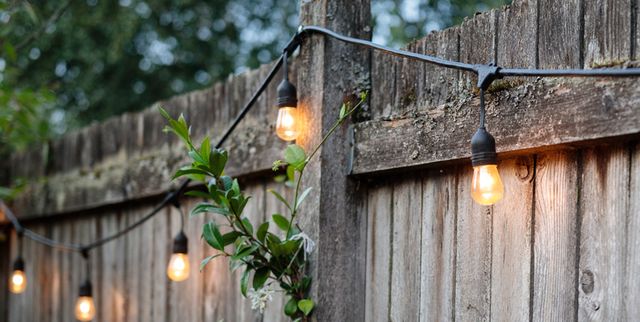
Solar fence lights are small outdoor fixtures with a solar panel, rechargeable battery, LED bulbs, and a mounting base. During the day, the panel stores energy. At night, the light uses that stored power.
The best way to attach solar lights to fence panels depends on three things:
• The fence material, such as wood, vinyl, metal, or masonry
• The weight and shape of the light
• The wind, rain, snow, and sunlight in your area
Before you begin, read the product manual. Some lights are made for screws only. Others include wall plugs, clips, brackets, or adhesive pads.
In my experience with outdoor lighting projects, the biggest mistake is placing lights before checking sunlight. A light may look perfect under a tree or beside a tall wall, but its battery may not charge well. Think of the solar panel as a small plant. It needs clear daylight to perform well.
Choose the best location on the fence
Good placement improves brightness, battery life, and service life. It also keeps the fence from looking crowded.
Look for a spot that receives direct sunlight for several hours each day. South-facing areas often receive strong sun in the Northern Hemisphere, but the exact direction matters less than clear exposure.
Avoid these locations:
• Beneath tree branches
• Behind a shed or tall wall
• Near roof overhangs
• Beside bright porch lights
• In low areas where water collects
• On loose, cracked, or rotting fence boards
Keep each light high enough to spread light across the path or yard. However, do not place it so high that changing batteries becomes unsafe. A height of about 5 to 7 feet often works well for path lighting, while small decorative lights may sit lower.
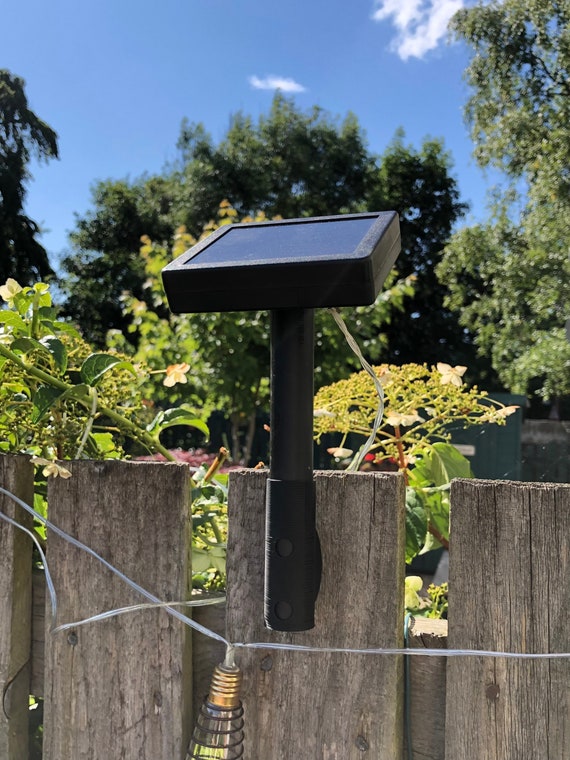
Mark each position with a pencil or removable piece of tape. Step back and check the spacing from several angles before drilling or sticking anything.
Select the right attachment method
There is no single answer to how to attach solar lights to fence surfaces. The best method depends on the fence and the light.
Screws for wood fences
Screws are usually the strongest choice for a solid wood fence. Use the screws supplied with the light when possible.
Choose exterior-rated screws made from stainless steel or coated steel. These resist rust better than standard indoor screws. If the fence board is hard or thick, drill a small pilot hole first.
A pilot hole reduces the chance of splitting the wood. It also helps the screw enter straight. Do not overtighten the screw, because this can crack the light base or strip the wood.
Clips for vinyl fences
Vinyl fence panels can crack when drilled. If your light includes a clip, hook, or over-the-panel bracket, use that option first.
For a screw-mounted light, place the screw into a reinforced post or thick rail rather than the thin center of a vinyl panel. Use only light fixtures that the fence can support without bending.
Screws and anchors for masonry
Brick, concrete, and stone fences need masonry bits and suitable anchors. Mark the hole, drill slowly, and clear away dust before inserting the anchor.
Wear eye protection during drilling. Never force a standard wood screw into masonry. It may loosen, damage the surface, or fail during strong wind.
Outdoor adhesive for light fixtures
Strong outdoor mounting tape can work for very light solar lights on smooth surfaces. It is useful when you cannot drill or when you want a temporary installation.
Adhesive often fails on dusty wood, rough brick, damp vinyl, or painted surfaces. It may also weaken in extreme heat or cold. Clean and dry the surface first, press firmly, and allow the adhesive to set for the time stated by the manufacturer.

Tools and supplies you may need
Gathering the right tools makes the job faster and helps prevent damage.
• Solar fence lights
• Pencil or washable marker
• Tape measure
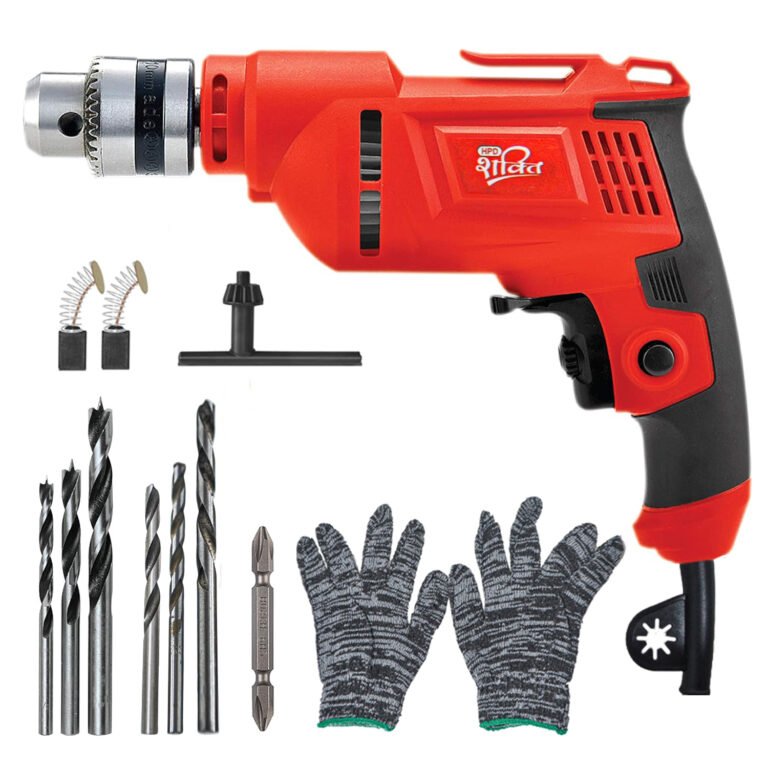
• Screwdriver or drill
• Drill bits for wood, vinyl, or masonry
• Exterior-rated screws
• Wall anchors, if needed
• Level
• Outdoor mounting tape or clips
• Soft cloth
• Mild soap and water
• Safety glasses
Use a level if you want a neat row of lights. Even a small tilt can make a fence line look uneven. Keep extra screws and replacement batteries nearby for future repairs.
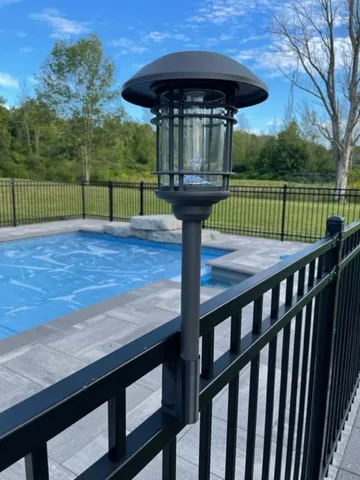
Check the light package before buying supplies. Some products use a keyhole slot, while others use a separate mounting plate. The mounting plate usually attaches first, and the light then slides or snaps into place.
Step-by-step guide for attaching solar lights to a fence
This step-by-step method works for most small solar fence lights.
1. Test every light
Turn each light on and check the switch. Many solar lights have an “on” position that must be selected before charging.
Cover the solar panel with your hand or a dark cloth. If the light turns on, the battery and LED system are likely working. Testing first prevents you from mounting a faulty unit.
2. Clean the fence
Remove dust, mud, cobwebs, and loose paint. For adhesive mounting, wash the area with mild soap and water, then let it dry completely.
Do not apply tape to a wet surface. Moisture trapped under the adhesive can cause the light to fall.
3. Mark the mounting points
Hold the light or mounting plate against the fence. Mark the screw holes or the center of the adhesive pad.
Use a tape measure to keep the spacing even. For a balanced look, place lights at equal distances from posts, gates, or corners.
4. Drill pilot holes when needed
For wood, drill narrow pilot holes that are slightly smaller than the screw shaft. For masonry, use a masonry bit and insert the correct anchor.
Avoid drilling into hidden wires, irrigation lines, or electrical cables. This is especially important near gates, fence posts, and areas with outdoor power equipment.
5. Attach the base or bracket
Hold the bracket level and drive the screws into the pilot holes. Keep the bracket flush with the fence.
If the light has a mounting plate, attach the plate first. Do not hold the entire light in place while trying to drive screws unless the manual specifically shows that method.
6. Install the light
Slide, clip, or snap the solar light onto its bracket. Gently pull on it to confirm that it is secure.
Do not use force. If the light does not fit, remove it and check the bracket position. Forcing the unit can break plastic tabs.
7. Set the switch and allow charging
Set the light to the operating mode recommended by the manufacturer. Place the solar panel where it receives the most direct sunlight.
Most new solar lights need a full day of charging before they reach normal nighttime performance. Test them after dark and adjust the angle if needed.
How to attach solar lights to fence without drilling
Many renters and homeowners want to know how to attach solar lights to fence panels without making holes. You have several options, but each has limits.
Use outdoor mounting tape
Choose tape labeled for outdoor use and rated for the weight of the light. Clean the fence, dry it, and apply the tape to the mounting surface.
Press the base firmly against the fence. Give it time to bond before attaching the light or exposing it to rain.
Use fence clips
Over-the-fence clips are useful for vinyl panels, chain-link fencing, and temporary displays. Choose a clip that fits the fence width and does not slide in strong wind.
For chain-link fences, some lights attach with cable ties or metal clips. Use UV-resistant ties because indoor plastic ties can become brittle in sunlight.
Use hooks or hanging brackets
A small outdoor hook can hold lightweight lantern-style solar lights. Screw-in hooks work best on wood, while clamp-style hooks suit metal or vinyl rails.
Keep hanging lights away from gates and walkways. A swinging light can strike the fence or become a hazard in windy weather.
Adhesive and clips are convenient, but they are not always permanent. If the area has strong wind, heavy rain, or frequent contact, screws are usually more reliable.

Tips for different fence materials
Wood fencing
Wood gives you the most mounting flexibility. Attach lights to a sound board or post, not to rotten wood or a loose picket.
Seal any large hole made in the fence if the product instructions call for it. This helps limit water entry, though small screw holes in outdoor fencing are usually not a major issue.
Vinyl fencing
Avoid placing heavy lights on thin vinyl panels. Use a reinforced rail, post, clip, or bracket designed for vinyl.
Do not overtighten screws. Vinyl can crack, expand, and contract with temperature changes.
Metal fencing
Metal fences may need self-drilling screws, clamps, or cable ties. Check that the attachment method will not scratch away protective coatings and expose the metal to rust.
For aluminum fences, use a clamp or manufacturer-approved bracket when possible. Thin metal can bend under pressure.
Chain-link fencing
Solar lights made for chain-link fences often use clips, hooks, or cable ties. Keep the solar panel facing upward and away from the fence mesh shadow.
Trim excess cable ties so they do not create sharp edges. Inspect them each season for cracking from sun exposure.
Brick or concrete fencing
Use a masonry bit, suitable anchor, and exterior screw. Work slowly to prevent chips around the hole.
If the wall is historic, decorative, or shared with a neighbor, check local rules before drilling. Adhesive brackets may be a better choice for very light fixtures.
Common mistakes to avoid
Learning how to attach solar lights to fence structures also means learning what can go wrong.
• Mounting the panel in shade: The light may work for only a short time at night.
• Using indoor tape: Indoor adhesive can fail quickly outdoors.
• Choosing weak screws: Rusted or short screws may pull out of the fence.
• Drilling into a rotten board: The light may fall even if the screw feels tight.
• Blocking the sensor: Nearby lights can make the unit think it is still daytime.
• Ignoring drainage: Water can collect inside a poorly angled fixture.
• Overloading a fence panel: Several heavy lights can stress a thin vinyl or metal section.
• Forgetting the switch: Some solar lights will not charge or turn on if the switch is off.
• Placing lights too close together: Excess lighting can look harsh and waste the available power.
A common lesson from outdoor installations is to inspect the fence before choosing the lights. A sturdy light cannot compensate for a weak mounting surface.
Improve brightness and battery life
Correct installation is only part of good solar light performance. Regular care helps the lights stay useful.
Clean the solar panel every few weeks during dusty or pollen-heavy seasons. Use a soft, damp cloth and avoid abrasive cleaners that can scratch the panel.
Trim branches that begin to shade the panel. Also check for leaves, bird droppings, and snow. A blocked panel stores less energy.
Rechargeable batteries wear out over time. If the light is clean and sunny but runs for only a short period, the battery may need replacement. Use the battery type and voltage listed in the manual.
Cold weather can reduce battery performance. This is normal for many rechargeable batteries. In areas with freezing winters, remove and store the lights if the manufacturer recommends it.
Solar fence light safety and local rules
Most small solar fence lights use low-voltage direct current and are safer to install than hardwired lighting. Even so, plastic parts, batteries, and mounting hardware can fail if they are damaged.
Follow these safety practices:
• Wear eye protection when drilling
• Keep tools away from children
• Do not use a cracked light or damaged battery
• Keep lights clear of flammable materials
• Do not modify the wiring or solar panel
• Use a stable ladder on firm ground
• Ask an electrician about any hardwired system
A solar light should not interfere with a gate, lock, security camera, or walking path. In some communities, fences near sidewalks or property lines have height and lighting rules. Check local requirements if the lights shine toward a road or neighboring property.
How often should you inspect solar fence lights?
Inspect the lights at least twice a year and after major storms. Look for loose screws, cracked housings, cloudy panels, rust, and damaged clips.
A quick inspection can prevent a small problem from becoming a broken fixture. Tighten loose hardware gently, but replace parts that are cracked or badly corroded.
If one light stops working, test the switch, clean the panel, and check the battery before replacing the entire unit. This simple order saves money and reduces waste.
Frequently Asked Questions About How to Attach Solar Lights to Fence
Can I attach solar lights to a vinyl fence?
Yes, but use clips, brackets, or reinforced fence posts when possible. Avoid overtightening screws into thin vinyl, since it can crack or bend.
What is the best way to attach solar lights to a wood fence?
Exterior screws are usually the most secure option for a solid wood fence. Drill pilot holes first and attach the light to sound wood rather than a rotten or loose board.
Can I use adhesive to attach solar lights to a fence?
You can use strong outdoor mounting tape for lightweight lights on clean, dry, smooth surfaces. Adhesive is less reliable on rough wood, dusty brick, wet vinyl, and areas with strong wind.
How much sunlight do solar fence lights need?
Many solar lights perform best with several hours of direct sunlight each day. Exact charging time varies by model, season, shade, battery condition, and weather.
Why do my solar fence lights turn off quickly?
A dirty or shaded panel, weak battery, incorrect switch setting, or poor charging conditions may cause short run times. Clean the panel and test the battery before moving the light or buying a replacement.
Should solar lights face the sun?
The panel should face the brightest open part of the sky. It does not always need to point directly at the sun, but direct light generally provides better charging than shade.
Can I attach solar lights to a chain-link fence?
Yes. Use clips, hooks, or UV-resistant cable ties made for outdoor use. Make sure the light cannot swing into the fence or hang over a walkway.
Conclusion
Learning how to attach solar lights to fence panels starts with choosing a sunny location and a mounting method that matches the fence material. Screws offer strong support for wood, clips work well for vinyl and chain-link fences, and outdoor adhesive suits light fixtures on smooth surfaces.
Clean the fence, mark the position, use the right hardware, and test each light before final installation. With a little care, your fence can provide soft, useful light without complex wiring. Start with one section today, then share your results or explore more outdoor lighting ideas for the rest of your yard.