
To use an electric screwdriver, choose the right bit, set the torque, align it, and press the trigger gently.
Learning how do you use an electric screwdriver can make many home repairs faster and easier. Whether you are building furniture, hanging shelves, or fixing a loose hinge, the key is control rather than force. This guide explains the tool, shows each step, and shares practical safety tips that help beginners work with confidence.

What Is an Electric Screwdriver?
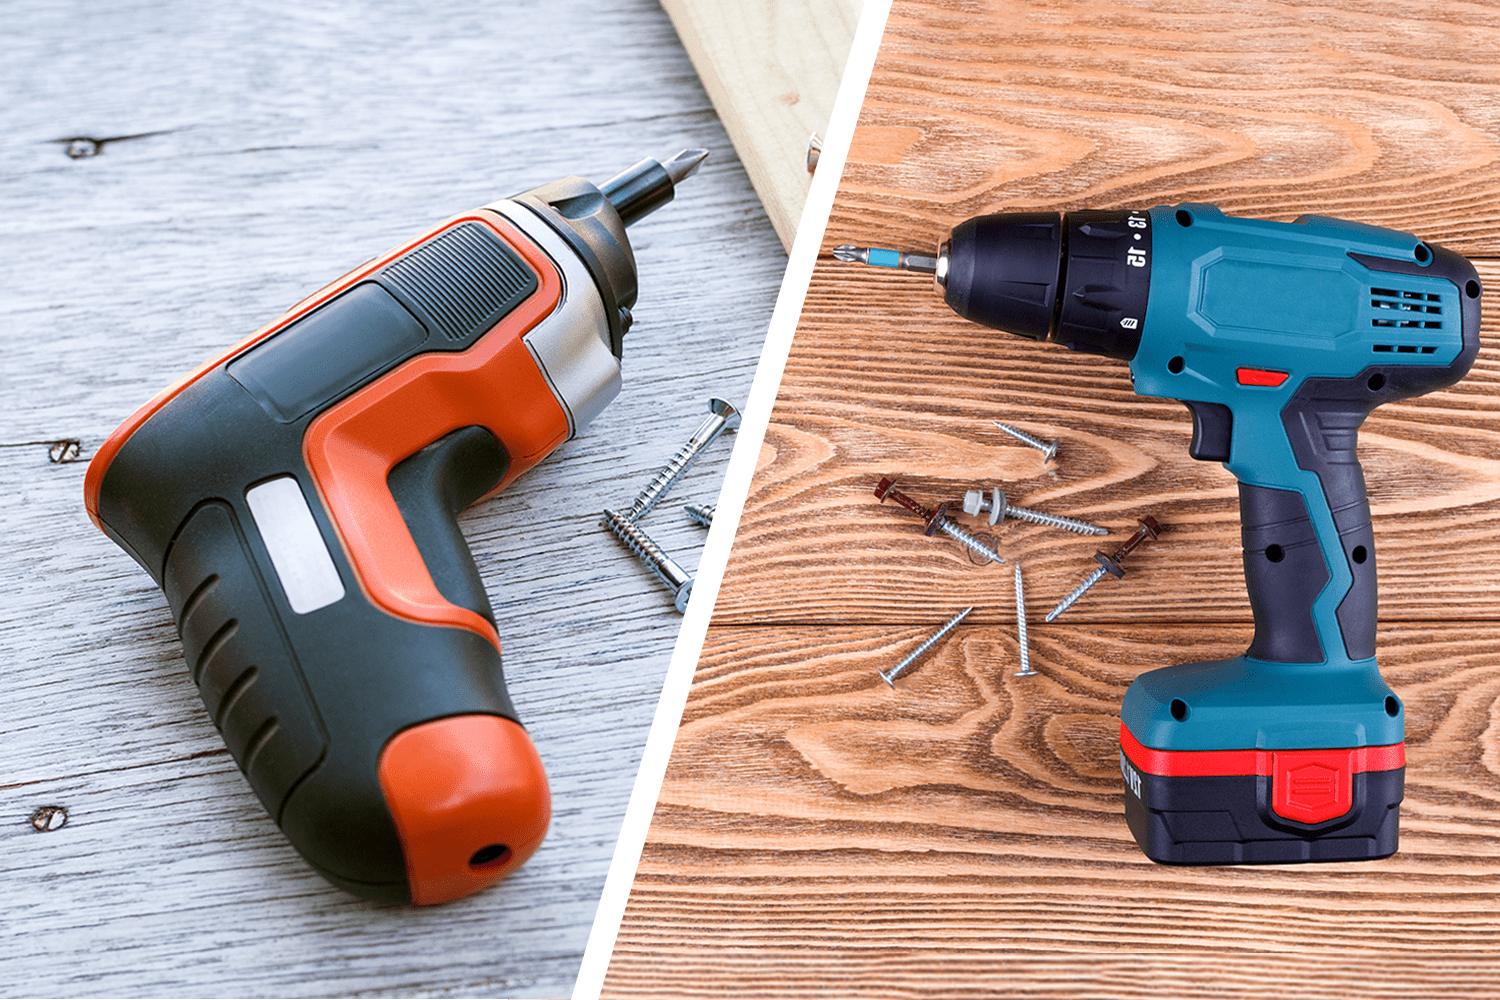
An electric screwdriver is a powered hand tool that turns a screwdriver bit. It uses a motor to drive screws into wood, plastic, metal, or other materials. Some models use a built-in battery, while others plug into a wall outlet.
An electric screwdriver is usually smaller and lighter than a power drill. It is made for driving screws, not for heavy drilling. Many models have a clutch, which lets you control how much turning force reaches the screw.
You may also hear these related terms:
• Cordless screwdriver: A battery-powered model that is easy to carry.
• Corded screwdriver: A model that uses a power cable and offers steady power.
• Impact driver: A stronger tool that uses quick hammering action for large or tight screws.
• Drill driver: A tool that can drill holes and drive screws with adjustable speed and torque.
The best tool depends on the task. A small electric screwdriver works well for furniture, cabinets, toys, light fixtures, and basic home repairs.

What You Need Before You Start
Before learning how do you use an electric screwdriver, gather the right tools and prepare your work area. Good preparation reduces mistakes and protects both the screw and the material.
You will usually need:
• An electric screwdriver with a charged battery or safe power cord
• The correct screwdriver bit
• Screws that match the material
• Safety glasses
• A tape measure or pencil
• A drill bit, if a pilot hole is needed
• A clamp or helper for holding loose materials
Check the screw head before choosing a bit. A Phillips screw needs a Phillips bit, while a Torx screw needs a Torx bit. The bit should fit snugly into the screw head. If it wiggles, it may slip and damage the screw.
Inspect the tool as well. Make sure the battery locks in place, the bit holder works, and the trigger moves freely. For a corded tool, check the cable for cuts or exposed wires.
How Do You Use an Electric Screwdriver Step by Step?
The safest method is simple: prepare, align, start slowly, and stop when the screw is secure. Follow these steps for most basic projects.
1. Charge the Battery or Connect the Tool
Fully charge a cordless electric screwdriver before use. A weak battery may make the motor slow or uneven. This can cause the bit to slip.
If you use a corded model, plug it into a suitable outlet. Keep the cable away from water, sharp edges, and the path of the tool.
2. Choose and Install the Bit
Pull back the bit holder if your model has a quick-change chuck. Insert the bit until it sits firmly, then release the holder. Give the bit a light pull to confirm that it is locked.
If the tool uses a keyless chuck, place the bit inside and tighten the chuck by hand. A loose bit can spin unevenly and damage the screw head.
3. Set the Direction
Most electric screwdrivers have a forward and reverse switch. Use forward to drive a screw in. Use reverse to remove a screw.
Keep the switch in the center position when carrying or storing the tool. This neutral setting can help prevent an accidental start.
4. Adjust the Torque
Torque is the turning force applied to the screw. A low torque setting is best for soft wood, plastic, and small screws. A higher setting may be needed for dense wood or longer screws.
Start with a low setting. Increase it only if the screw stops before reaching the correct depth. This approach helps prevent stripped screw heads and cracked surfaces.
5. Mark the Screw Location
Use a pencil to mark where the screw should go. If the project has several screws, measure the spacing before driving any of them.
For hard wood or screws near an edge, make a pilot hole first. A pilot hole is a small hole that guides the screw and lowers the risk of splitting the material.
6. Place the Bit in the Screw Head
Hold the electric screwdriver in line with the screw. The bit should point straight into the center of the screw head.
Do not hold the tool at an angle. An angled bit can slip, scratch the surface, or strip the screw.
7. Start at Low Speed
Place one hand on the handle and use your other hand to steady the front of the tool if needed. Press the trigger gently.
Start slowly so the bit can grip the screw. Once the screw begins to move straight into the material, you can increase speed slightly.
8. Stop at the Correct Depth
Release the trigger as soon as the screw is seated. The screw head should be flush with the surface unless the project instructions say otherwise.
Do not keep driving after the screw is tight. Extra force can bury the screw too deeply, break the material, or damage the fastener.
9. Check the Result
Look at the screw and the surrounding material. The screw should be straight, secure, and free from damage.
If the screw is loose, increase the torque slightly or use a longer screw when appropriate. If the material is cracked, stop and review the screw size, pilot hole, and location.

How to Control Speed and Torque
Speed and torque work together, but they are not the same. Speed controls how quickly the bit turns. Torque controls how much turning force the tool applies.
Use low speed when starting a screw. This gives you time to correct the angle and keep the bit centered. High speed may work well for long screws after the threads have started, but it also increases the chance of slipping.
A simple torque guide can help:
• Low torque: Small screws, plastic, soft wood, and cabinet hardware
• Medium torque: Shelves, general furniture, and common wood screws
• High torque: Dense wood, long screws, and difficult fasteners
These settings vary between models. A torque number on one screwdriver may not match the same number on another. Test the tool on scrap material before working on the finished project.
In my experience, beginners often make one mistake: they choose the highest setting because it feels powerful. That usually causes more problems than it solves. A low setting gives better control and protects the material.
When Should You Use a Pilot Hole?
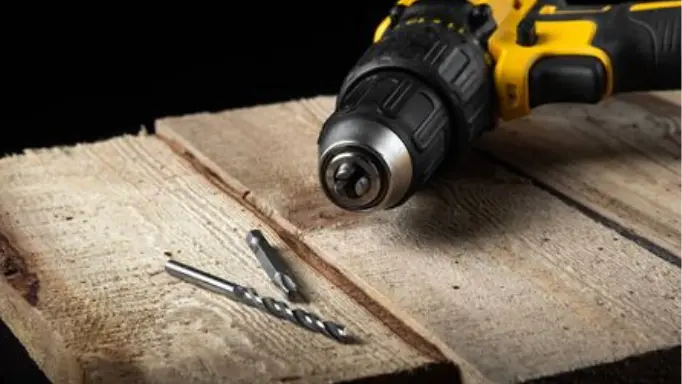
A pilot hole is useful when driving screws into hardwood, thin boards, or material close to an edge. It creates a path for the screw and reduces pressure inside the material.
Choose a drill bit that is slightly smaller than the screw’s solid center shaft. The hole should guide the screw without removing the material needed for the threads to grip.
A pilot hole is especially helpful for:
• Hardwood such as oak, maple, or walnut
• Screws placed near the edge of a board
• Long screws
• Thin wood that may split
• Dense plastic
• Projects that need precise screw placement
Do not make the pilot hole too large. If the hole is wider than the screw threads, the screw may not hold firmly.
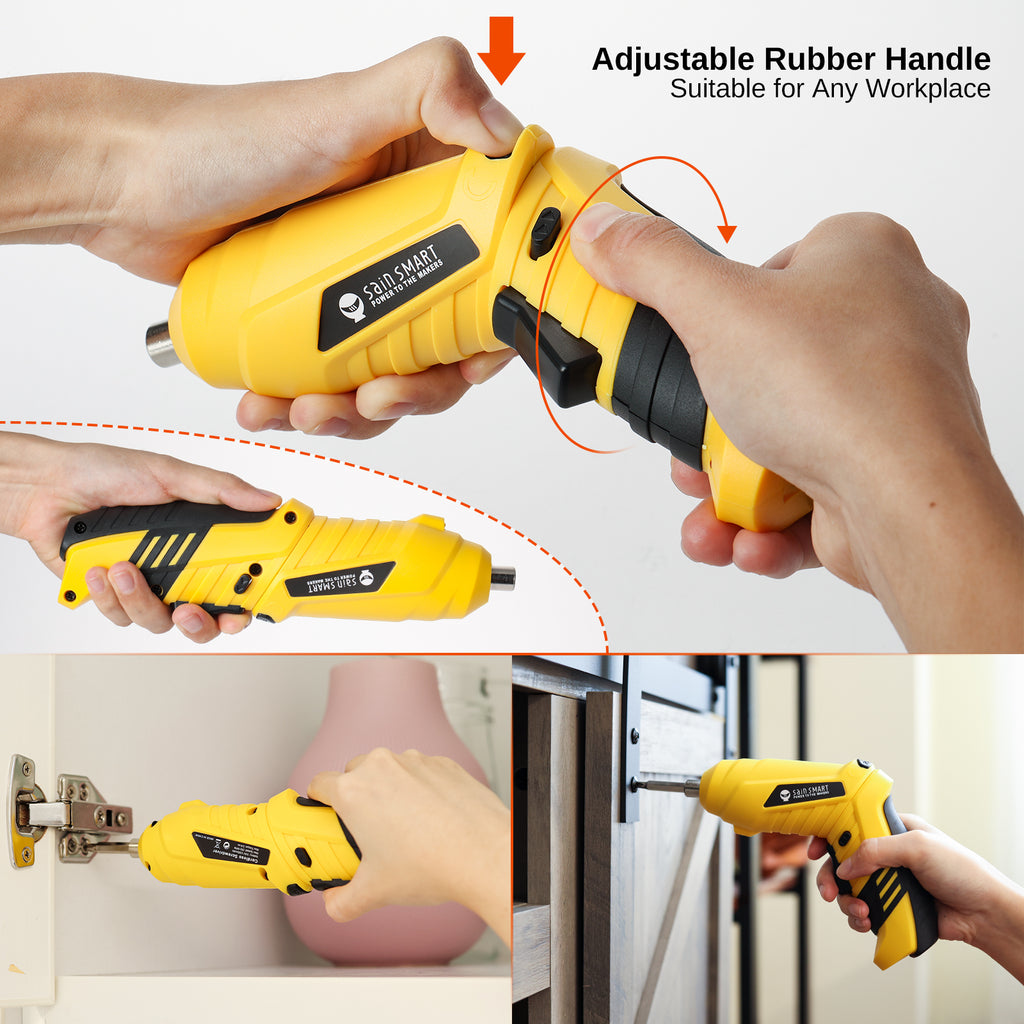
How Do You Use an Electric Screwdriver on Different Materials?
Different materials need different settings and techniques. The same approach that works for soft pine may damage plastic or metal.
Wood
Use a low or medium torque setting. Make a pilot hole in hardwood or near an edge. Stop when the screw head is flush with the surface.
For decorative wood, avoid driving the screw too deep. A buried screw can leave a visible dent and weaken the surface.
Plastic
Use low speed and low torque. Plastic can crack when pressure builds too fast. If possible, drill a small pilot hole first.
Do not overtighten screws in plastic. The threads can strip the hole, leaving a weak connection.
Metal
An electric screwdriver may drive self-tapping screws into thin metal. For thicker metal, use a drill driver and the correct metal bit.
Wear eye protection because metal chips can be sharp. Keep the tool straight and use steady pressure.
Drywall
An electric screwdriver can drive drywall screws, but depth control matters. The screw head should sit just below the paper surface without tearing it.
For heavy objects, do not rely on drywall alone. Use a stud, anchor, or mounting system rated for the load.

Common Mistakes to Avoid
Knowing how do you use an electric screwdriver also means knowing what not to do. Most beginner problems come from poor alignment, too much force, or the wrong bit.
Avoid these mistakes:
• Using a bit that does not match the screw head
• Pressing too hard before the screw starts
• Holding the tool at an angle
• Using high torque for every task
• Driving screws too deep
• Ignoring a damaged screw head
• Working with a loose bit
• Using a worn battery or damaged cord
• Holding the workpiece loosely
• Skipping safety glasses
A stripped screw head is often caused by a poor bit fit or low pressure between the bit and screw. If the bit keeps slipping, stop. Replace the bit or choose a new screw rather than forcing the tool.
I once ruined a clean cabinet panel by trying to “finish” a screw with too much torque. The screw sank below the surface and crushed the coating around it. Since then, I always test the torque on a hidden area first.
:max_bytes(150000):strip_icc()/SPR-types-of-drills-6455930-impactdriver-8475ccd416154f4b8076f265d488105a.jpg)
Electric Screwdriver Safety Tips
An electric screwdriver is not usually a dangerous tool when used correctly, but it can still cause cuts, eye injuries, burns, and damage to property. Basic safety habits matter.
Follow these safety rules:
• Wear safety glasses when driving screws into wood or metal.
• Keep fingers away from the bit and screw path.
• Secure loose boards with a clamp.
• Keep children and pets away from the work area.
• Do not use a damaged battery, cord, plug, or bit.
• Remove the battery before changing accessories when the design allows it.
• Keep the tool dry unless it is specifically rated for wet conditions.
• Do not wear loose clothing or jewelry near a rotating tool.
• Let the motor cool if the tool becomes unusually hot.
• Follow the instructions supplied with your model.
Battery tools also need proper charging. Use the charger made for the battery system. Do not charge a damaged, swollen, or leaking battery. Store lithium-ion batteries away from extreme heat and moisture.

How to Remove a Screw With an Electric Screwdriver
Removing a screw is often easier than installing one. First, change the direction switch to reverse. Make sure the bit fits tightly into the screw head.
Place the bit straight into the screw. Press the trigger slowly and keep light pressure on the tool. Once the screw loosens, reduce speed so it does not fall or spin out suddenly.
If the screw does not move, do not immediately use maximum power. Try these steps:
-
Clean dirt from the screw head.
-
Use a fresh bit with the correct size.
-
Press the bit firmly into the screw.
-
Apply a small amount of penetrating oil to a rusty metal screw.
-
Use pliers if the screw head is already exposed.
-
Switch to an impact driver only when the screw and material can safely handle it.
How to Maintain an Electric Screwdriver
Regular care keeps the tool accurate and extends battery life. Wipe dust from the body and bit holder after each project. Use a soft, dry cloth rather than spraying cleaner into the motor or vents.
Store bits in a dry case. Replace bits that are rounded, chipped, or rusty. A damaged bit can slip even when you use the correct technique.
Check the battery contacts for dirt. Store the battery according to the manufacturer’s instructions. Many lithium-ion batteries perform best when kept away from full heat, deep cold, and long periods of complete discharge.
Do not open the motor housing unless you are trained to repair electrical tools. For serious faults, use an authorized repair service or replace the tool.
Choosing the Right Electric Screwdriver
When choosing an electric screwdriver, think about the work you do most often. A compact model is convenient for small repairs, while a drill driver offers more power and flexibility.
Consider these features:
• Battery voltage: Higher voltage often provides more power, but it may also add weight.
• Torque control: A clutch helps prevent stripped screws and damaged surfaces.
• Variable speed: A trigger with speed control improves accuracy.
• Bit compatibility: Common bit sizes are easier to replace.
• Ergonomic grip: A comfortable handle reduces hand strain.
• Work light: An LED light helps in dark corners.
• Battery capacity: A larger capacity can support longer jobs.
• Weight: A light tool is useful for overhead work and furniture assembly.
More power is not always better. For most household repairs, control, comfort, and a good clutch matter more than maximum output.
Frequently Asked Questions About How Do You Use an Electric Screwdriver
Can an electric screwdriver drill holes?
Some electric screwdrivers can drill small holes when fitted with a compatible drill chuck or bit system. However, a drill driver is usually better for regular drilling because it offers more speed, power, and bit options.
What direction should an electric screwdriver turn?
Turn the tool forward to drive a screw into a surface. Use reverse to remove a screw, and keep the direction switch in the center position when carrying the tool.
Why does my electric screwdriver strip screws?
A screw may strip when the bit is the wrong size, the tool is held at an angle, or the torque is too high. Use the correct bit, keep it straight, start slowly, and apply firm but gentle pressure.
Should I use high torque on an electric screwdriver?
No. Start with low torque and increase it only when needed. High torque can damage screw heads, crack plastic, split wood, or bury screws too deeply.
Can I use an electric screwdriver on drywall?
Yes, you can use one for light drywall work if you control the depth. Do not rely on drywall alone for heavy items; use a stud or a suitable wall anchor.
How do I know when a screw is tight enough?
A screw is usually tight enough when it is secure and seated at the correct depth. Stop when the screw head is flush or slightly recessed as the project requires, and avoid forcing it after that point.
Is an electric screwdriver safe for beginners?
Yes, beginners can use one safely by wearing eye protection, using the correct bit, starting at low speed, and keeping the tool aligned. Read the tool manual before the first use.
Conclusion
Learning how do you use an electric screwdriver is mainly about control. Choose the right bit, set a low torque level, keep the tool straight, and stop when the screw is secure. Pilot holes, safety glasses, and a steady hand can prevent most common problems.
Start with a simple project, such as assembling a small shelf or tightening cabinet hardware. Practice on scrap material first, then use these skills on your real project. Explore your tool’s manual for model-specific guidance, and share your own tips or questions with other DIY readers.




One Comment