
You can attach floating shelves without drilling by using strong adhesive mounts, strips, or a no-drill bracket system.
Learning how to attach floating shelves without drilling starts with one key rule: match the mounting method to the shelf’s weight, wall surface, and intended use. In this guide, you will learn which adhesive options work, how to prepare the wall, how to test the shelf safely, and when a no-drill method is not suitable.
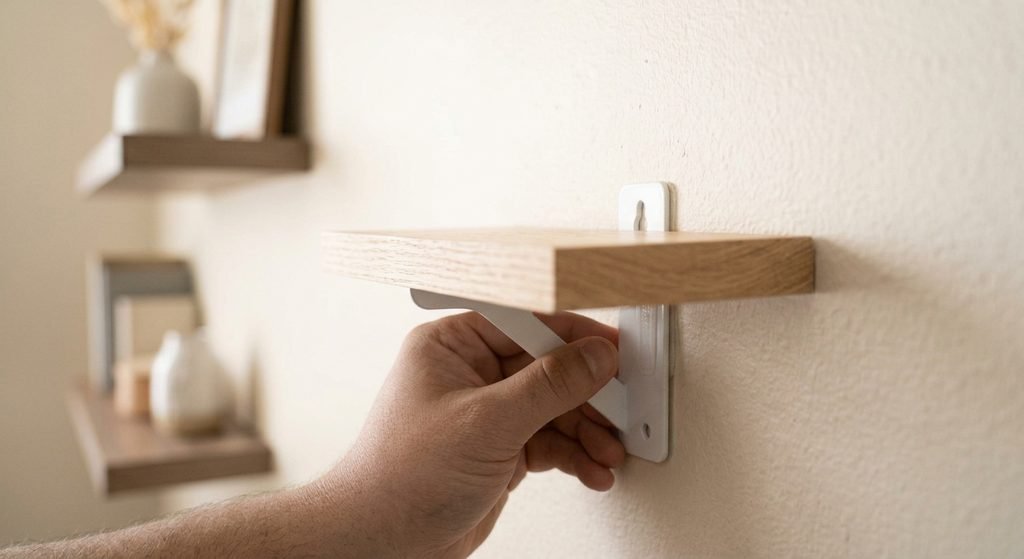
Is It Safe to Attach Floating Shelves Without Drilling?
Yes, you can attach floating shelves without drilling when the shelf is light and the wall surface is clean, smooth, and sound. Adhesive mounting strips, heavy-duty mounting tape, and special no-drill shelf brackets can hold small decorative shelves when used correctly.
However, adhesive is not equal to a screw or wall anchor. A shelf holding books, dishes, plants, or glassware may need more support than tape can provide. Always check the product’s weight rating and leave a safety margin.
A useful rule is to keep the shelf load well below the advertised limit. If a mounting strip says it holds 16 pounds, do not place 16 pounds on the shelf. The shelf itself also adds weight.
No-drill mounting works best for:
• Small picture ledges
• Lightweight wood or plastic shelves
• Small decorations
• Remote controls and small electronics
• Bathroom items such as empty containers
• Nursery or office accessories
It is usually a poor choice for:
• Large books
• Heavy ceramic dishes
• Aquariums
• Tools
• Valuable breakable items
• Shelves above beds, sofas, or seating areas
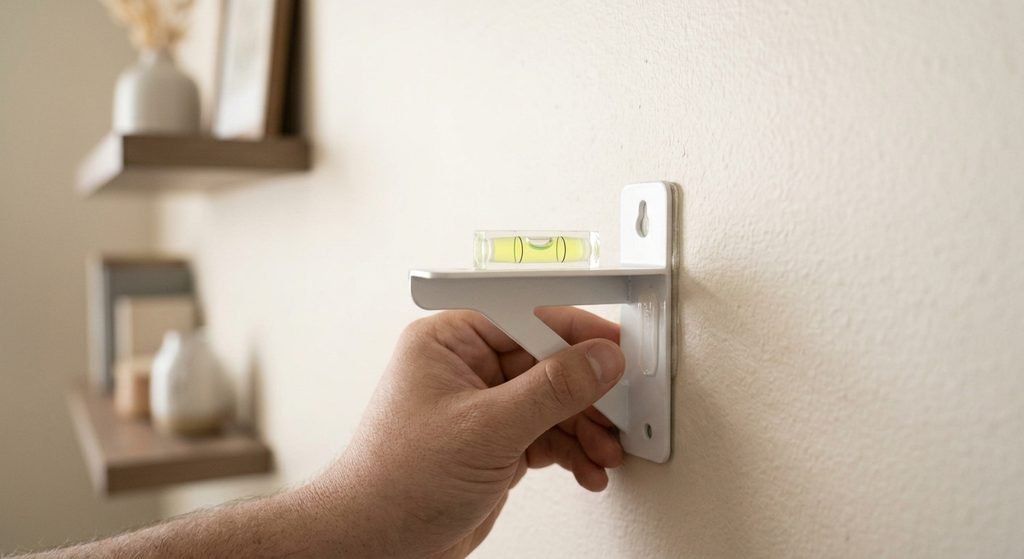
Choose the Best No-Drill Mounting Method
The right method depends on the shelf design and the wall. A lightweight shelf with a flat back needs a different solution from a hollow shelf with a hidden bracket.
Heavy-duty adhesive mounting strips
Adhesive strips are easy to remove and often leave little or no wall damage. They work well for narrow shelves that hold only light objects.
Use strips designed for mounting, not ordinary double-sided office tape. Look for a clear weight rating and directions for painted drywall, glass, tile, or another surface.
Heavy-duty mounting tape
Mounting tape creates a strong bond between the shelf and the wall. It is useful for a shelf with a broad, flat back.
The wall and shelf must be very clean. Dust, grease, loose paint, and moisture can cause the tape to fail. Mounting tape can also remove paint when you take the shelf down.
Adhesive shelf brackets
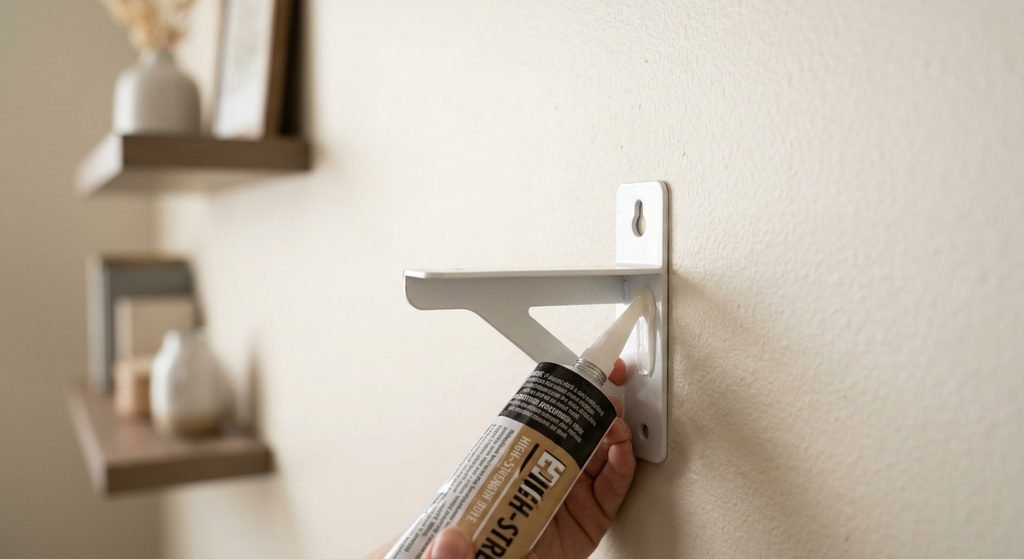
Some no-drill shelf brackets use construction adhesive or strong pads. These brackets spread the load across several contact points and can support more weight than one narrow strip.
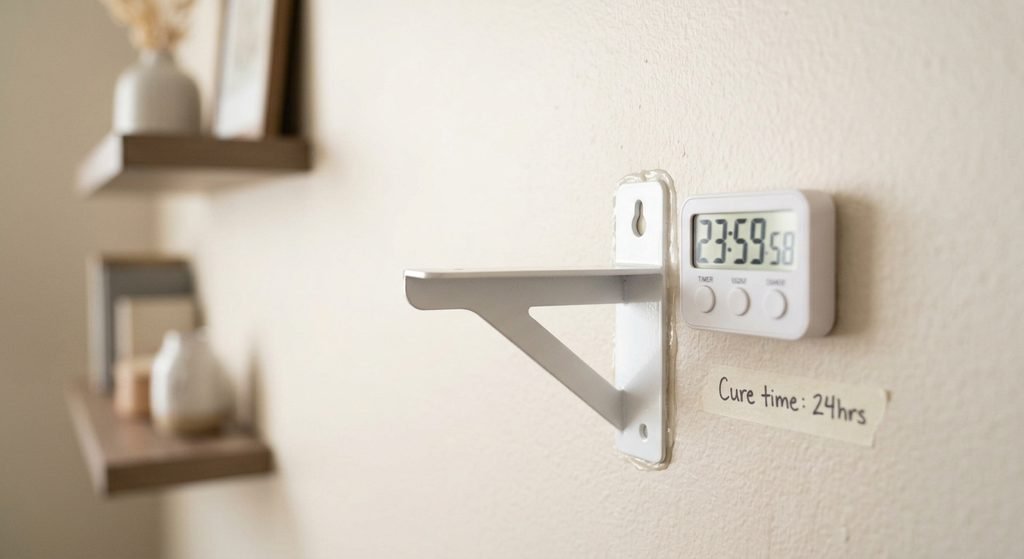
They still need a flat, stable surface. Follow the cure time on the adhesive label. Many products feel firm within hours but need a full day or more before carrying weight.
Removable picture-hanging systems
Some picture-hanging systems use interlocking strips. They are a good choice for a very light picture ledge or small display shelf.
They are not made for heavy shelves. Avoid using them for items that may hurt someone if they fall.
Tension or freestanding supports
A tension shelf uses pressure between two surfaces, such as a floor and ceiling or two side walls. This option does not depend on adhesive.
It can work in closets, shower spaces, and narrow alcoves. It is less useful for a normal open wall and may leave pressure marks on soft surfaces.
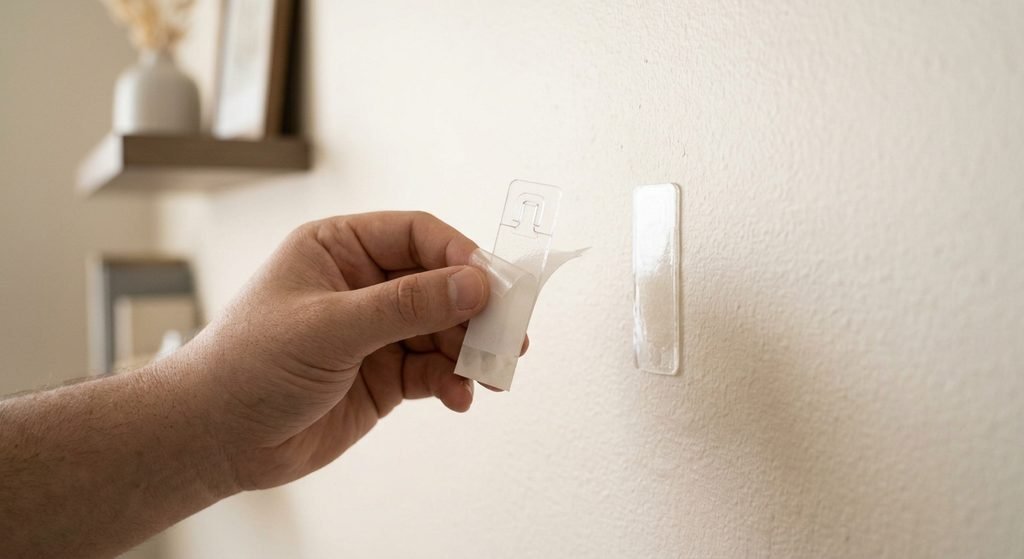
Check the Wall Before You Mount the Shelf
Wall preparation is one of the most important parts of learning how to attach floating shelves without drilling. Even the strongest adhesive will fail if it sticks to dust, oil, loose paint, or wallpaper.
Inspect the surface first. Look for peeling paint, cracks, damp spots, rough texture, and recent repairs. A smooth, dry painted wall is usually the easiest surface for adhesive mounting.
Good surfaces often include:
• Smooth painted drywall
• Finished wood
• Clean laminate
• Sealed tile
• Glass
• Metal
Difficult surfaces often include:
• Brick
• Concrete block
• Textured plaster
• Unsealed wood
• Powdery drywall
• Wallpaper
• Damp bathroom walls
• Freshly painted walls
Do not mount the shelf over loose wallpaper or flaking paint. The adhesive may stick well to the paper, but the paper can pull away from the wall.
For painted walls, wait until the paint has fully cured. Many paint products need about two to four weeks to reach a durable cure, even when they feel dry. Check the paint maker’s instructions before applying strong adhesive.
Clean the wall with isopropyl alcohol on a clean, lint-free cloth if the adhesive instructions allow it. Do not use a greasy cleaner, as it can leave a film behind. Let the wall dry fully.
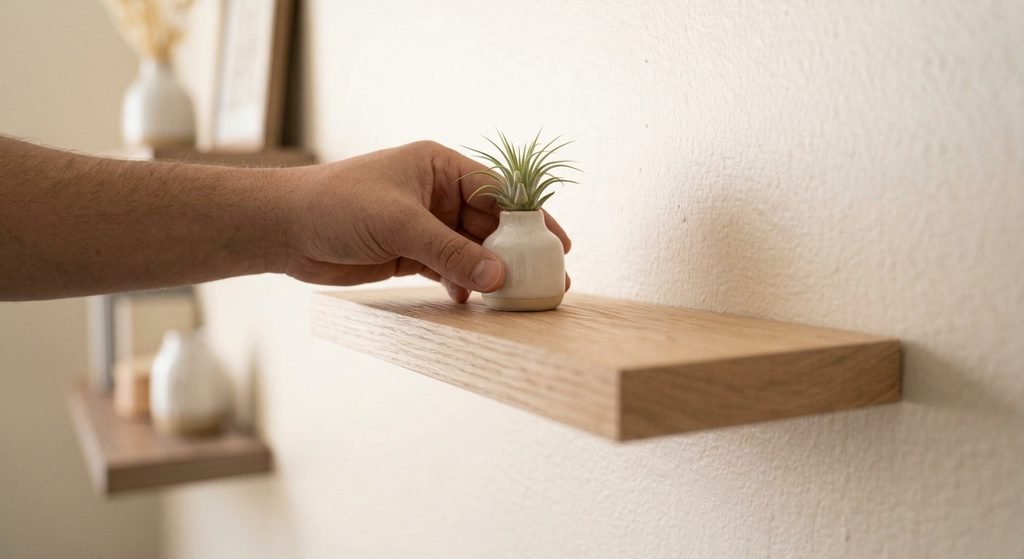
How to Attach Floating Shelves Without Drilling
Follow these steps for a small, lightweight shelf. Read the instructions that come with your mounting strips, tape, or adhesive because products vary.
1. Measure the shelf location
Use a tape measure and level to mark the top and side edges of the shelf. Light pencil marks are easier to remove than repeated adjustments after the adhesive is attached.
Check the space around the shelf. Doors, cabinet drawers, switches, and vents should open or work without touching it.
2. Check the shelf weight
Weigh the empty shelf if the weight is not listed. Add the estimated weight of the items you plan to display.
Remember that a deep shelf creates leverage. When an item sits near the front edge, it pulls down and away from the wall. This force is greater than the item’s simple weight.
3. Test the fit
Hold the shelf against the wall before removing any adhesive backing. Check that it sits flat and level.
If the shelf rocks or has a curved back, adhesive alone may not make a reliable bond. A flat contact area gives the adhesive a better chance to work.
4. Clean both surfaces
Clean the wall and the back of the shelf. Remove dust, grease, sawdust, and loose fibers.
Allow both surfaces to dry. Moisture trapped under tape can weaken the bond.
5. Apply the adhesive evenly
Place strips or tape across the shelf’s support area. Use several smaller pieces instead of one long piece when the product instructions recommend it.
Keep the adhesive away from the shelf’s visible edges. This reduces the chance of a sticky border showing after installation.
6. Press the shelf firmly
Press the shelf against the wall for the time listed by the manufacturer. Apply steady pressure across the entire contact area.
Do not press only in the center. The corners and ends need firm contact too.
7. Let the adhesive cure
Leave the shelf empty during the full waiting period. This may range from several minutes to several days, depending on the product.
Waiting is not wasted time. It allows the adhesive to build strength instead of carrying a load too soon.
8. Add weight slowly
Start with a light object. Wait and inspect the shelf.
If it stays level and firm, add weight in small steps. Stop if the shelf tilts, lifts, slides, or makes a cracking sound.
How to Mount a Floating Shelf With Adhesive Brackets
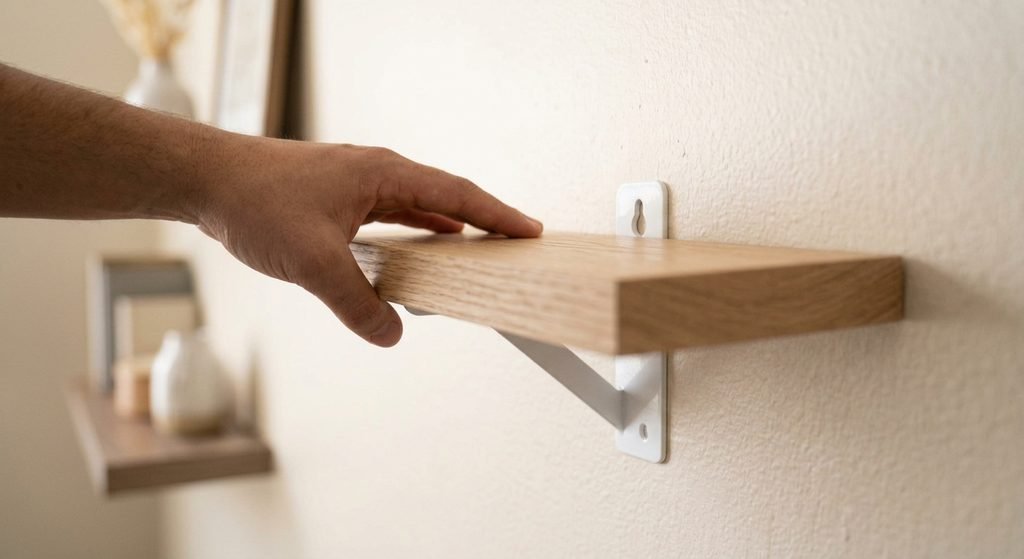
Adhesive brackets can provide better support than flat tape because they support the shelf from below. They also help reduce the pulling force caused by objects placed near the front edge.
First, place the brackets under the shelf and mark their positions. Keep them evenly spaced. Two brackets near the ends may work for a short shelf, while a longer shelf may need a center bracket.
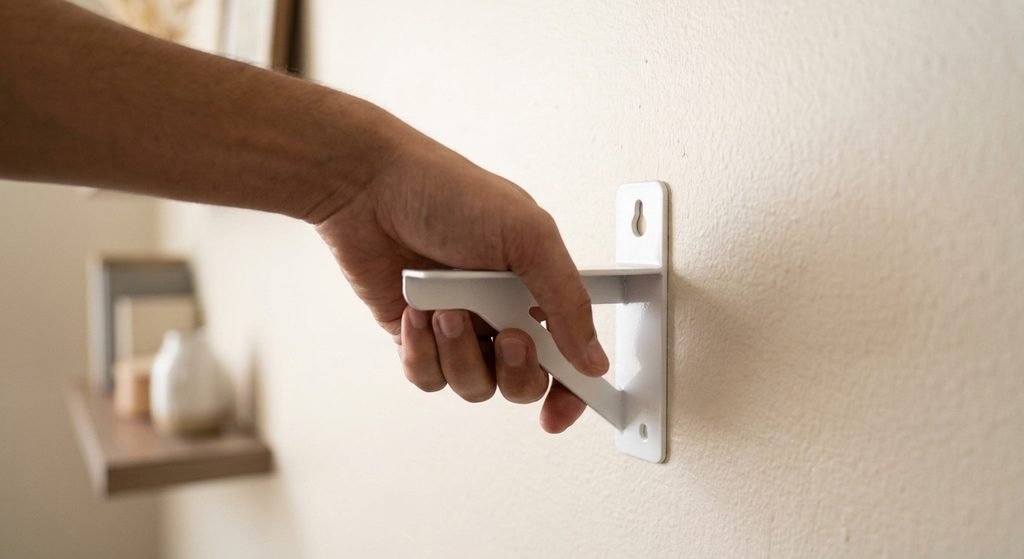
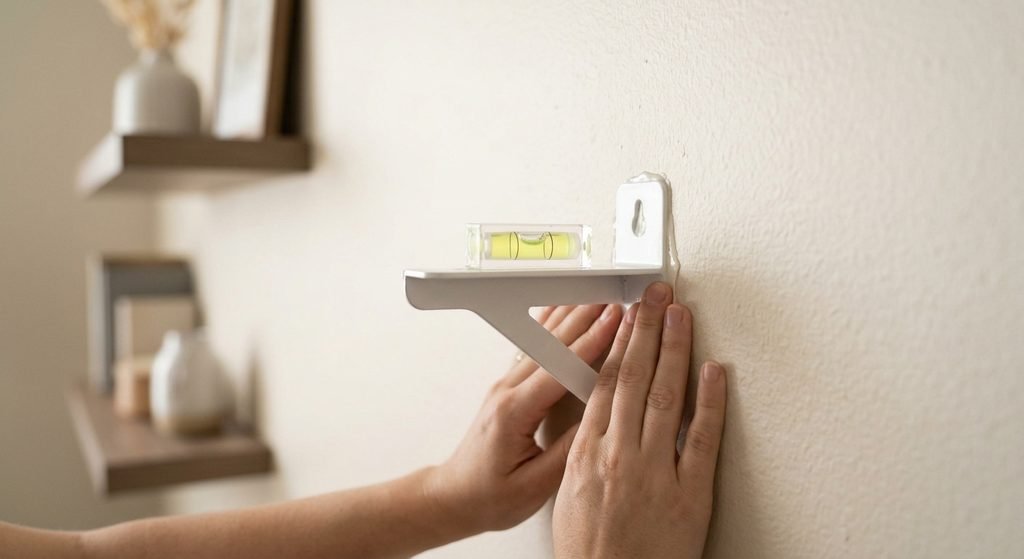
Clean the wall and bracket surfaces. Apply the recommended adhesive, then press each bracket into place. Use a level before the adhesive sets.
Attach the shelf only after the stated cure time. If the shelf rests on the brackets, make sure it cannot slide forward. Some systems include a locking part or small adhesive pad for this reason.
This method is still not a replacement for screws on a heavy shelf. A bracket can spread weight, but it cannot change the strength of the wall or adhesive.
Common Mistakes to Avoid
Many shelf failures come from small errors rather than poor products. Avoid these common problems when learning how to attach floating shelves without drilling.
• Using ordinary double-sided tape instead of mounting tape
• Ignoring the shelf’s own weight
• Mounting on dusty or greasy paint
• Applying adhesive to damp tile
• Installing on fresh paint
• Loading the shelf before the cure time ends
• Placing heavy objects near the front edge
• Using too little adhesive
• Mounting over peeling wallpaper
• Trusting an old, dried-out adhesive strip
• Skipping the level check
• Hanging a heavy shelf above a bed or sofa
One mistake I have seen often is testing a shelf with a stack of books right away. The shelf looks secure for a few minutes, then slowly pulls away from the wall. A better approach is to let the adhesive cure fully and add weight in stages.
Another lesson is to think about the wall finish before choosing a product. A strong adhesive may hold the shelf but remove paint when you take it down. Removable strips are gentler, but they usually support less weight.
How to Remove a No-Drill Floating Shelf
Removal should be slow and controlled. Pulling the shelf straight away from the wall can remove paint or drywall paper.
For removable strips, support the shelf with one hand and pull the tab slowly in the direction shown by the manufacturer. Keep the strip close to the wall as you stretch it.
For mounting tape, gently warm the tape with a hair dryer on a low setting if the product directions permit it. Do not overheat painted drywall. Use dental floss or a thin plastic card to separate the shelf from the wall without using a metal blade.
Remove leftover adhesive with a product approved for your wall finish. Test it in a hidden spot first. If paint comes off, stop and repair the area rather than scrubbing harder.
Improve the Shelf’s Stability and Appearance
A good installation should look clean and remain stable. These small improvements can help.
Use a shallow shelf
A shallow shelf creates less leverage. This makes it easier for adhesive to support the load.
Keep items toward the back
Place objects close to the wall. Avoid heavy items at the front edge.
Use a lip or guard rail
A small front lip can stop objects from sliding. It also lets you use the shelf without placing items right at the edge.
Choose a light shelf material
A hollow-core, foam, plastic, or thin wood shelf weighs less than thick solid hardwood. Less shelf weight leaves more capacity for your display items.
Make the contact area wide
A wider back panel gives adhesive more surface area. It also reduces stress at one small point.
When You Should Drill Instead
Knowing when not to use a no-drill method is part of safe installation. Choose screws, wall anchors, or a stud-mounted bracket when the shelf will carry meaningful weight.
Drilling is the safer choice for:
• Bookshelves
• Kitchen dish shelves
• Tool storage
• Large plants
• Heavy framed items
• Long solid-wood shelves
• Shelves in homes with children or pets
• Anything installed above a place where people sit or sleep
For drywall, a screw placed into a wall stud is usually stronger than an adhesive mount. If there is no stud in the right place, a suitable drywall anchor can spread the load.
Some homes have plaster, lath, tile, or masonry walls. Each surface needs the correct anchor and drill bit. If you are unsure, ask a local hardware professional or experienced installer.
A no-drill shelf should be treated like a light display ledge, not a structural storage system.
Best Practices for Bathrooms and Humid Rooms
Bathrooms create extra challenges because humidity can weaken adhesive and damage some shelf materials. Steam may collect behind the shelf and reduce the bond.
Use a product rated for humid areas. Clean away soap film and allow the tile to dry completely before mounting.
Avoid placing the shelf directly above a shower unless the product is designed for wet locations. Even then, use it only for light items.
Plastic, sealed metal, and sealed composite shelves tend to perform better than unfinished wood. Inspect the mount often for lifting corners, soft adhesive, rust, or water damage.
Frequently Asked Questions About How to Attach Floating Shelves Without Drilling
Can floating shelves really be attached without drilling?
Yes, light floating shelves can be attached with mounting strips, heavy-duty tape, adhesive brackets, or tension supports. The wall must be clean and smooth, and the shelf must stay within the product’s safe weight limit.
What is the strongest way to attach a floating shelf without drilling?
A properly rated adhesive bracket or construction adhesive usually offers more support than a small removable strip. Even strong adhesive methods are best for light loads and should not replace screws for heavy storage.
Will adhesive strips damage painted walls?
Removable strips may leave little damage when removed correctly, but no product is completely risk-free. Paint quality, wall condition, humidity, and removal technique all affect the result.
How long should adhesive cure before loading a shelf?
Follow the product label because cure times vary. Some strips can carry light weight soon after installation, while construction adhesives may need 24 to 72 hours or longer.
Can I attach a floating shelf to wallpaper?
It is usually not recommended. The adhesive may pull the wallpaper away from the wall, so a screw-mounted system or a freestanding shelf is often safer.
How much weight can a no-drill floating shelf hold?
The safe amount depends on the shelf, adhesive, wall, contact area, and load position. Use the lowest rating among all parts, then keep the actual load below that limit for a safer margin.
Can I use mounting tape on textured walls?
Textured walls often provide too little contact area for a reliable bond. A smooth, sealed surface or a drilled mounting system is usually a better choice.
[CodeImg is intentionally omitted from the FAQ section.]
Conclusion
Learning how to attach floating shelves without drilling is practical when you choose a light shelf, prepare the wall, use a rated adhesive system, and respect the weight limit. Clean surfaces, full cure time, even pressure, and gradual loading make a major difference.
Use this method for small displays and light storage. For books, dishes, tools, large plants, or shelves above people, choose a stud-mounted or anchored installation instead.
Measure carefully, test the shelf slowly, and inspect it from time to time. With the right method, you can create a neat shelf display without making holes in the wall. Share your shelf setup or explore more home improvement guides for your next project.


2 Comments