
Use a flexible dryer vent brush to loosen lint, then vacuum the duct and clean the outside vent opening.
Learning how to clean dryer vent with brush is a simple home task when you use the right tools and take basic safety steps. A clogged vent can make clothes take longer to dry, raise energy use, and overheat the dryer.
This guide explains the full process from the laundry room to the outside wall. You will learn which brush to buy, how far to clean, what mistakes to avoid, and when a professional should handle the job.
Why dryer vent cleaning matters
Your dryer moves warm, moist air through a vent duct. Lint can collect inside this duct, especially near bends, joints, the wall outlet, and the exterior vent cover.
A small amount of lint is normal. A thick layer acts like a blanket inside the duct. It slows airflow and forces the dryer to work harder.
The U.S. Fire Administration lists failure to clean dryers as a leading factor in home clothes dryer fires. Regular cleaning does not remove every risk, but it is an important safety habit.
A blocked dryer vent may cause:
• Clothes to need two or more cycles to dry
• The dryer or laundry room to feel unusually hot
• A burning smell during a cycle
• More lint around the dryer
• Moist air or condensation near the vent
• A weak airflow at the outside vent
• Higher electric or gas bills
Cleaning the lint screen after every load still matters. However, the lint screen cannot catch every fiber. Fine lint travels into the vent system and builds up over time.
Tools you need to clean a dryer vent
Before you start, gather all the tools. A proper kit makes the job faster and lowers the chance of damaging the duct.
You will usually need:
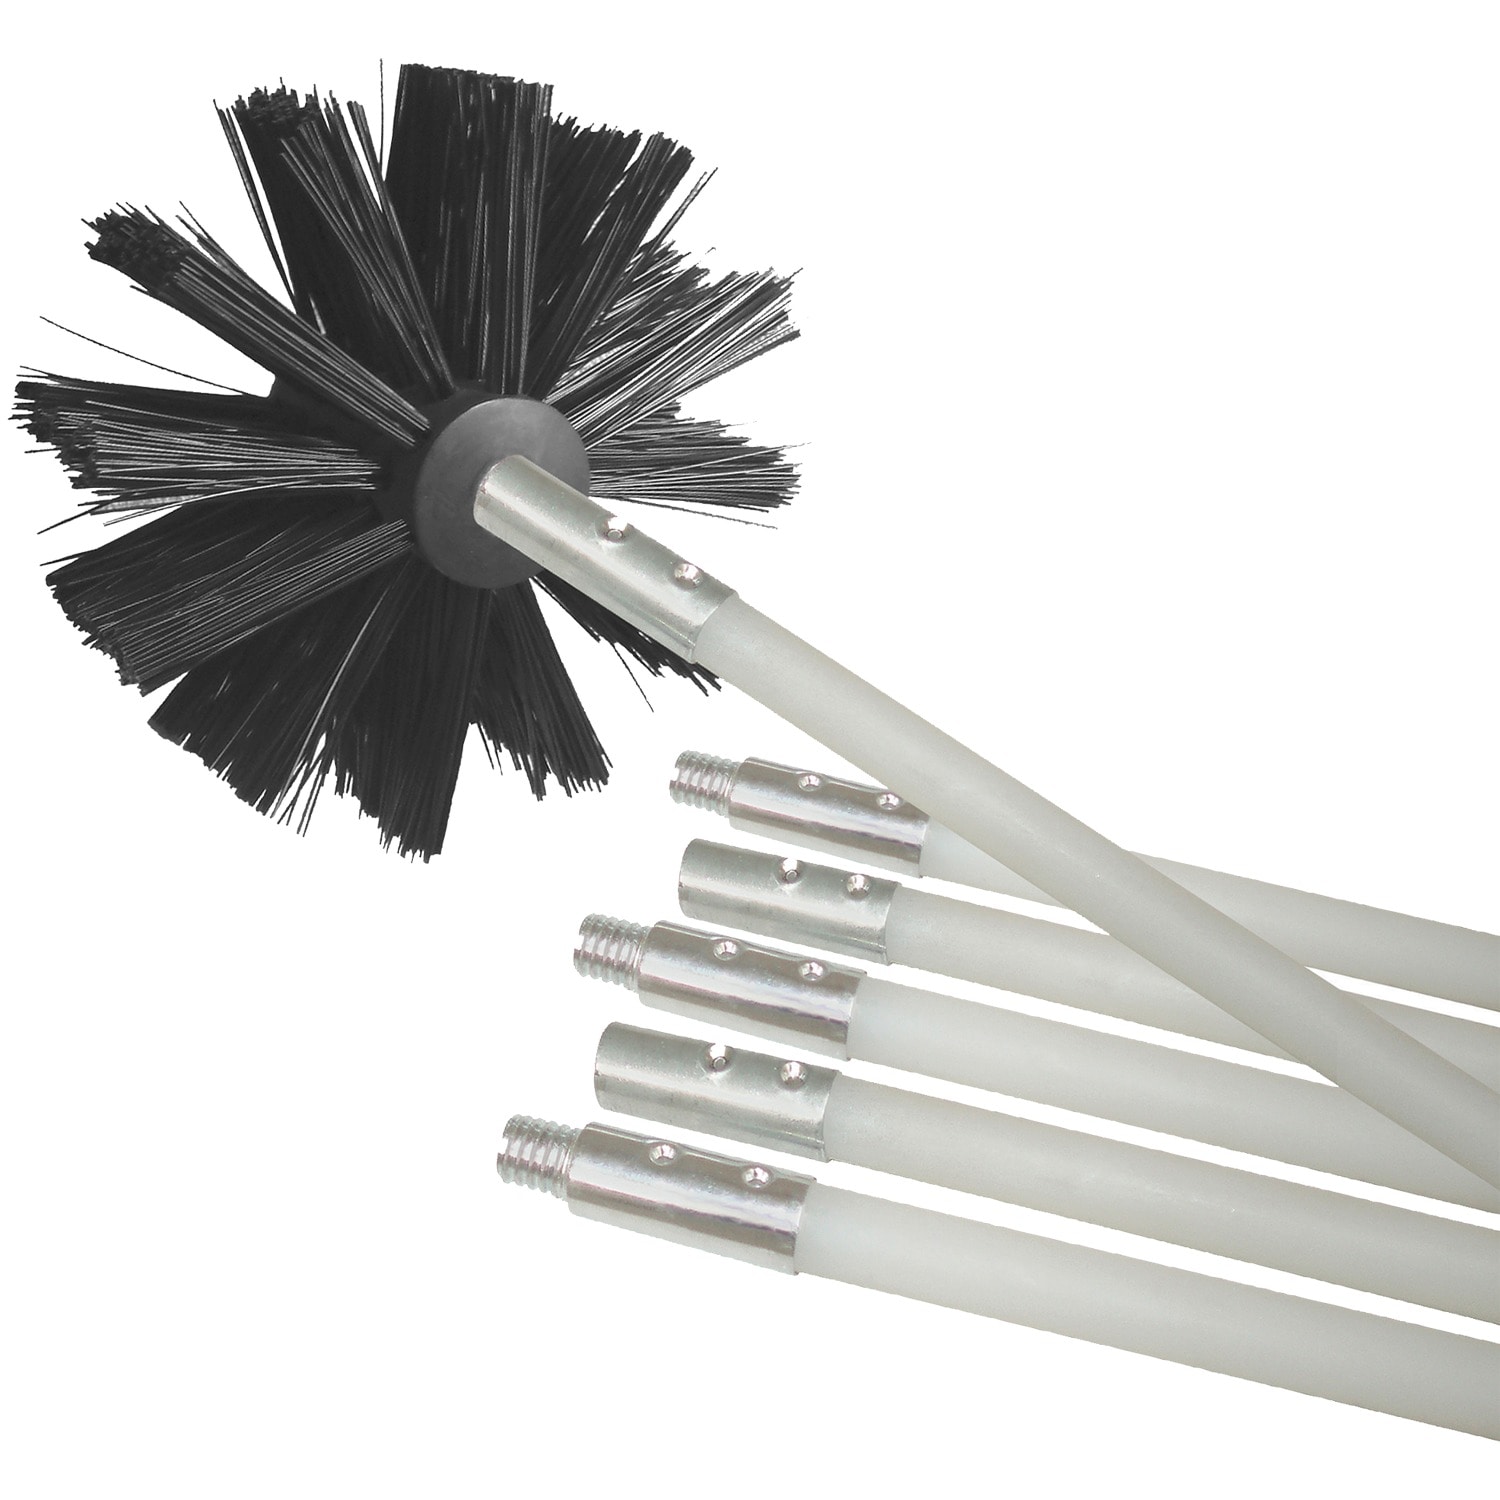
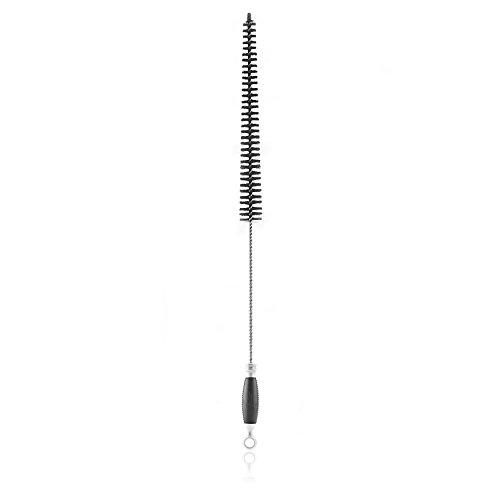
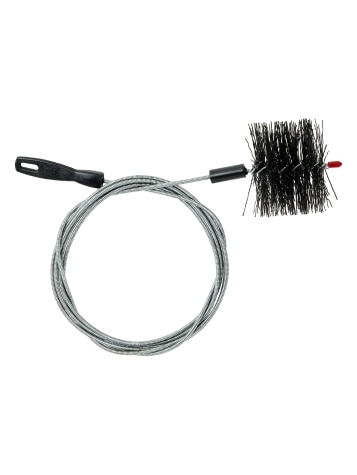
• A flexible dryer vent cleaning brush with a long handle
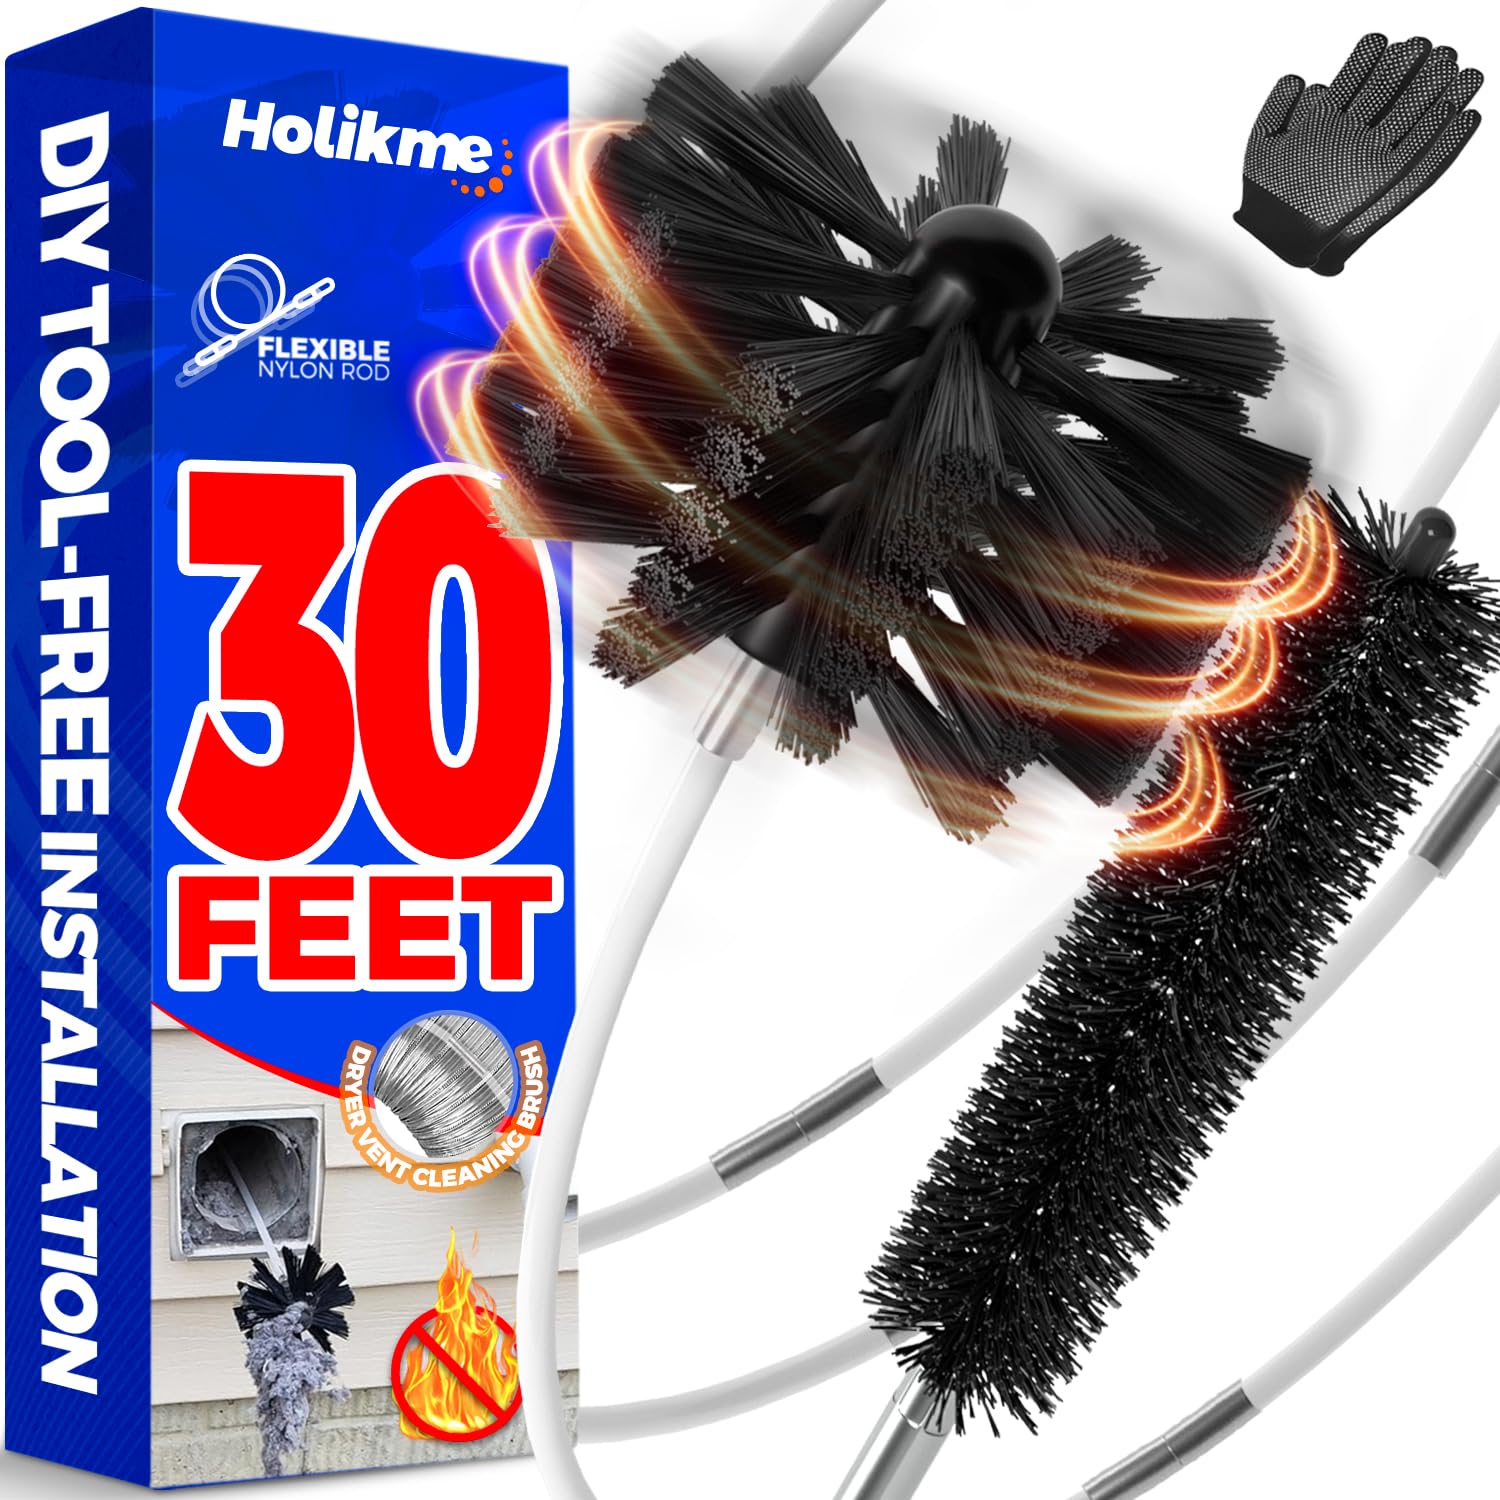
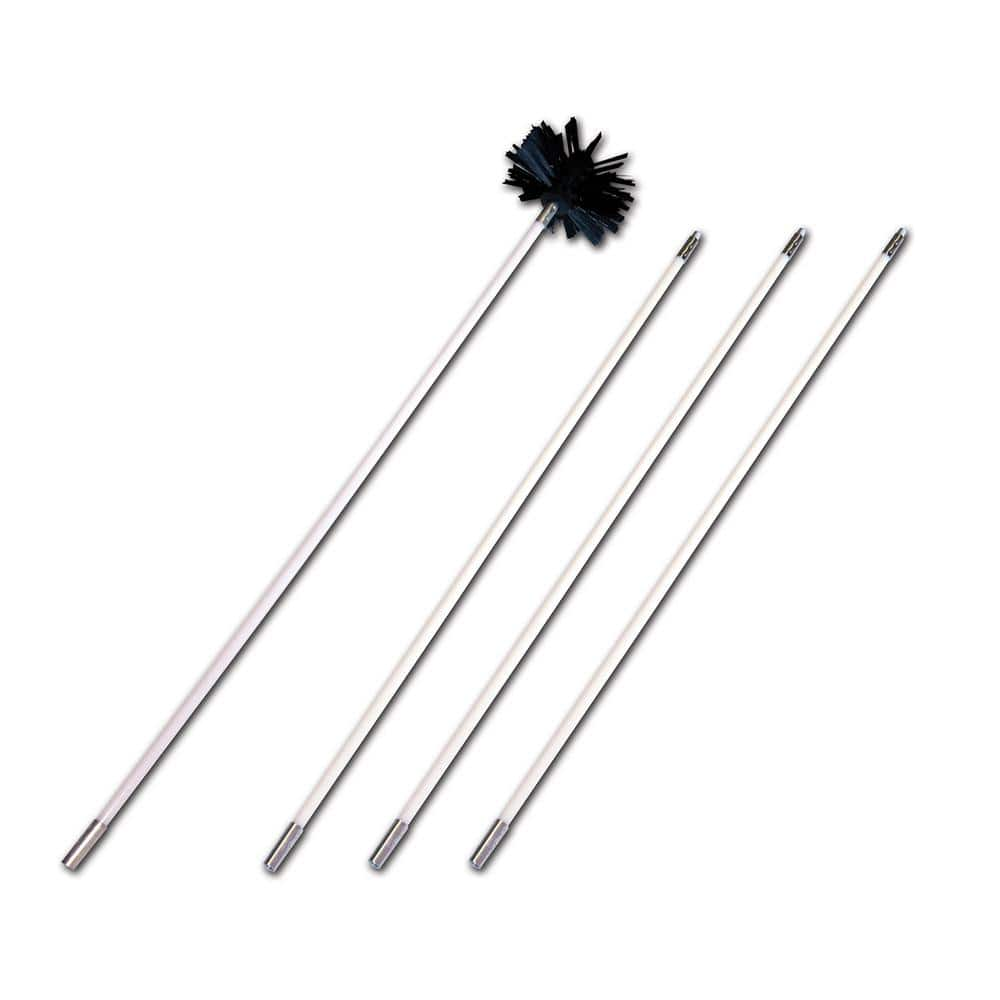
• One or more brush extension rods
• A vacuum with a hose and narrow crevice tool
• A screwdriver or nut driver
• A flashlight
• A soft cloth
• Work gloves
• Safety glasses
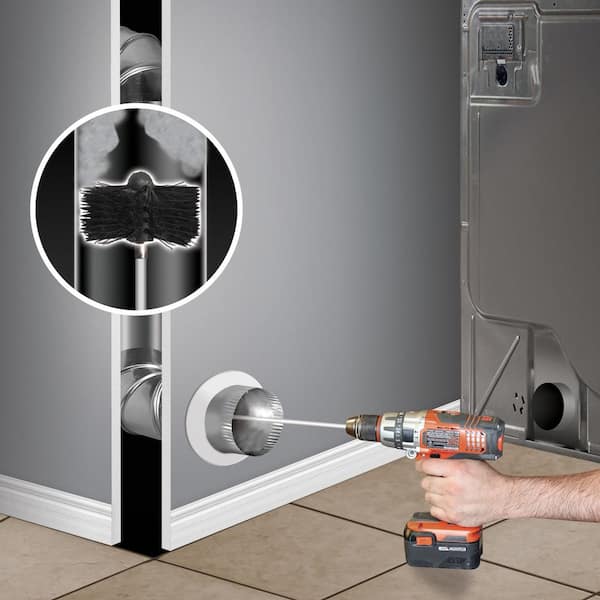
• A drill with a low-speed setting, if your brush kit supports drill use
Choose a brush with nylon bristles. Nylon is firm enough to break up lint but gentle enough for most metal ducts.
Avoid using a brush with loose wires. A wire brush can scratch the duct, catch on screws, or leave broken pieces inside the vent.
Measure the distance from the dryer to the outside wall before buying a kit. Many home kits reach 12 to 20 feet, but a long duct may need extra rods or professional equipment.
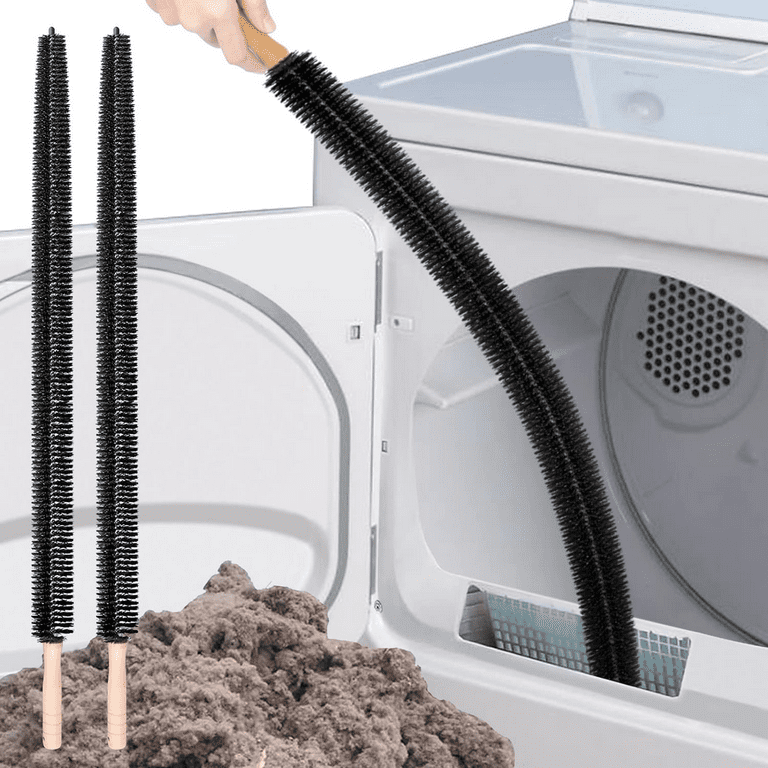
A vacuum alone often cannot reach deep lint. A brush loosens the packed material first, while the vacuum removes it. Using both tools is the most reliable approach for a typical household vent.
How to clean dryer vent with brush step by step
Follow these steps slowly. Rushing can push lint farther into the duct or damage the vent connection.
1. Turn off the dryer
Unplug an electric dryer before moving it. If you have a gas dryer, close the gas valve if you need to move the appliance far from the wall.
Never work on a running or warm dryer. Let it cool first.
If the plug is hard to reach, turn off the dryer circuit at the electrical panel. Do not pull on the power cord.
2. Pull the dryer away from the wall
Move the dryer forward with care. Ask for help if it is heavy.
Do not bend or crush the vent hose. A crushed hose creates a sharp blockage and can trap more lint.
Use a flashlight to inspect the area behind the dryer. Look for lint piles, a loose clamp, a damaged hose, or signs of heat.
3. Disconnect the vent hose
Loosen the clamp that connects the hose to the back of the dryer. Keep the screws and clamp in a safe place.
Inspect the hose. Replace plastic or thin foil accordion tubing with an approved metal transition duct. Flexible metal ducts may be allowed in some cases, but rigid or semi-rigid metal is often safer and smoother.
Never use duct tape as the only way to repair a damaged vent. High heat and movement can cause the tape to fail.
4. Vacuum the dryer outlet
Insert the vacuum hose into the dryer’s rear outlet. Remove lint that is easy to reach.
Do not force the hose deep into the appliance. Internal parts can be damaged, and some areas require service by a trained technician.
Keep the vacuum nearby. You will use it again after brushing the vent.
5. Insert the dryer vent brush
Push the brush into the vent opening in the wall. Start with the brush by hand.
Turn the brush as you move it forward. This helps the bristles contact the inside wall and lift lint from the duct.
Work in short sections. Push about 12 inches, rotate the brush, then pull it back slightly. Repeat this motion until the brush moves freely.
If you use a drill, run it at a slow speed and keep the brush moving. Do not use high speed. A fast brush can twist the duct, loosen a joint, or damage the vent flap.
6. Pull out the loosened lint
Pull the brush back slowly. Keep the vacuum nozzle near the opening to catch falling lint.
Clean the brush after each pass. You may need several passes if the duct has not been cleaned for years.
Do not push hard when the brush stops. It may have reached a bend, a joint, a screen, or a blockage. Forcing it can separate the duct inside the wall.
7. Clean from the outside
Go outside and find the dryer vent cover. It may be on a side wall, rear wall, roof, or crawl space outlet.
Open the flap by hand if possible. Remove lint, leaves, mud, and insect nests.
Insert the brush from the outside and clean toward the dryer. Cleaning from both ends gives better coverage, especially on long ducts.
Keep fingers away from sharp metal edges. Wear gloves and use a flashlight when the vent is dark.
8. Check the vent flap
The outside flap should open when the dryer runs and close when it stops. It should not be painted shut or blocked by a screen.
Many dryer manufacturers and fire safety experts advise against fine mesh screens on dryer exhaust outlets. They can trap lint and restrict airflow.
A bird or rodent nest can create a serious blockage. If you find nesting material deep inside the vent, stop and arrange professional cleaning.
9. Reconnect the vent hose
Slide the hose back over the dryer outlet and wall connection. Tighten the clamps, but do not crush the duct.
Keep the vent path as short and straight as possible. Each sharp bend adds resistance and gives lint another place to collect.
Move the dryer back without pinching the hose. Leave enough space for the hose to keep its round shape.
10. Test the airflow
Plug the dryer back in. Run it on an air-fluff or low-heat setting for several minutes.
Go outside and check the vent. You should feel a steady stream of warm air, and the flap should open fully.
Stop the dryer if you smell burning, hear scraping, or see unusual heat. Those signs may point to an electrical, mechanical, or airflow problem.
How to clean a dryer vent from inside and outside
The best method depends on where the vent exits and how long the duct is.
For a short vent that exits through a nearby wall, you can often clean it from the laundry room. Disconnect the hose, brush the wall duct, and vacuum the lint.
For a longer vent, clean from both the dryer side and the outside side. The two-way method helps remove lint that gathers near the exterior flap.
A roof vent is more difficult. You may need a ladder or roof access, which adds a fall risk. Do not climb onto a wet, steep, or damaged roof just to clean the vent.
Call a professional when:
• The vent exits through the roof
• The duct runs more than 20 feet
• The brush becomes stuck
• The duct is inside a wall or ceiling
• You find a nest or solid blockage
• The vent has many bends
• The dryer has a gas smell
• The duct is damaged or disconnected
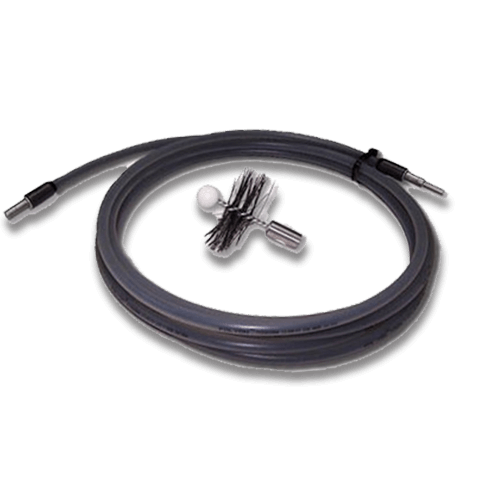
A professional vent cleaner may use a rotary brush system with a high-powered vacuum. This equipment can reach farther than a basic home kit and can collect debris more effectively.

Common mistakes when cleaning a dryer vent
Learning how to clean dryer vent with brush also means knowing what not to do. Small mistakes can reduce airflow or create a safety problem.
Using only the lint screen
The lint screen catches large fibers before they enter the duct. It does not clean the full exhaust path.
Clean the screen after every load, but inspect and clean the vent as a separate task.
Pushing the brush too hard
A brush should loosen lint, not act like a pipe cleaner forced through a solid wall. Excess force may disconnect a hidden joint.
Use short strokes and steady rotation. If the brush stops suddenly, investigate instead of forcing it.
Using a high-speed drill
A high-speed drill can twist extension rods together or make the brush whip inside the duct. Use only the speed recommended by the kit maker.
Keep one hand near the duct opening so you can control the tool.
Leaving the vent hose crushed
A dryer vent needs a clear, open path. A flattened hose can cause the same airflow problem as a lint blockage.
Move the dryer back in small steps and check the hose before finishing.
Cleaning only the visible lint
Lint near the dryer is easy to see, but the worst buildup may be farther inside. Clean the full reachable length and inspect the outside flap.
Ignoring a damaged duct
A hole, loose joint, or disconnected duct can release hot, damp air into a wall or utility area. Replace damaged sections before using the dryer again.
How often should you clean a dryer vent?
For many homes, cleaning the dryer vent once a year is a practical starting point. A household that runs several loads each week may need more frequent cleaning.
Clean the vent sooner if:
• You have a large family
• You wash bulky towels often
• The duct is long or has many bends
• The dryer takes longer to dry clothes
• You use a gas dryer
• You have pets that shed heavily
• The outside airflow feels weak
• You recently moved into an older home
The correct schedule depends on the dryer, duct design, laundry volume, and lint level. Do not rely on a calendar alone.
A useful habit is to check the outside airflow every few months. If the stream feels weaker than before, inspect the vent.
Signs your dryer vent is still blocked
Sometimes a basic cleaning removes loose lint but does not solve the main problem. Watch for warning signs after the job.
Clothes should dry within a normal cycle for the fabric and load size. Heavy items may take longer, but a regular load should not need repeated cycles.
Other warning signs include:
• The dryer shuts off before clothes are dry
• The top or sides feel very hot
• The laundry room becomes humid
• The outside flap barely opens
• The vent makes a rattling sound
• Lint appears around the wall connection
• The dryer smells hot or smoky
A blocked duct is not the only possible cause. A faulty thermostat, heating element, moisture sensor, blower wheel, or motor can also create drying problems.
If cleaning does not improve performance, stop guessing and schedule an appliance or vent inspection.
Safety tips for dryer vent cleaning
Safety should come before speed. Dryer vent cleaning is usually manageable, but the work involves electricity, heat, sharp metal, and sometimes gas.
Use these precautions:
• Unplug the dryer before disconnecting the hose
• Shut off gas before moving a gas dryer
• Wear gloves and eye protection
• Keep children and pets away from the work area
• Do not use an open flame to test airflow
• Do not spray water or chemicals inside the vent
• Do not operate a drill near standing water
• Do not use a damaged brush or broken extension rod
• Do not climb on a roof without proper training and equipment
• Never use a dryer if you smell gas
The National Fire Protection Association recommends keeping dryer exhaust systems clean and ensuring that exhaust ducts vent outdoors. Dryer exhaust should not terminate inside a home, attic, crawl space, or wall cavity.
If you see melted wiring, scorch marks, or heavy heat damage, contact a qualified appliance technician before using the dryer.
My practical lessons from dryer vent cleaning
One lesson I often share is to start with airflow, not the brush. First check the outside flap while the dryer runs. If the flap barely moves, you have a clear reason to inspect the duct.
Another common mistake is buying a brush that is too short. A short brush may clean the first few feet and create false confidence. Measure the route before shopping, and choose a kit with enough rods to reach the full duct.
I also recommend taking a photo before disconnecting the hose. It helps you remember the original routing and prevents you from reinstalling the duct with a sharp bend.
In one typical home setup, lint had collected where the flexible hose met the wall. The homeowner cleaned the lint screen often but had never checked that connection. The dryer worked better after the hose was replaced and the wall duct was brushed.
The main lesson is simple: a clean lint screen is only the first line of defense. The entire exhaust path needs open airflow.
When to hire a professional dryer vent cleaner
DIY cleaning works well for a short, accessible vent with light or moderate buildup. It has limits, though.
Hire a professional if you cannot reach the full duct, if the vent runs through a ceiling, or if the outside outlet is on the roof. A professional can inspect the duct with specialized tools and confirm that the vent is connected correctly.
Professional service is also wise after a dryer fire, a major blockage, or a remodeling project. Construction dust and debris can enter a disconnected vent.
Ask the service provider whether they use a rotary brush, vacuum collection, or both. Request a clear price before work begins, and avoid companies that promise impossible results without inspecting the vent.
A professional cleaning cannot fix a bad vent design. If the duct is too long, crushed, made from an unsafe material, or full of sharp bends, repair or replacement may be the real solution.
Frequently asked questions about how to clean dryer vent with brush
Can I clean a dryer vent with a regular household brush?
A regular brush is usually too short and may not have the right shape. A flexible dryer vent brush with extension rods is safer and more effective for reaching inside the duct.
How long does it take to clean a dryer vent with a brush?
A short, accessible vent may take 30 to 60 minutes. Long ducts, roof outlets, heavy lint, and difficult access can take much longer.
Should I clean the dryer vent from the inside or outside?
Clean from both ends when possible. Brushing from the dryer and the outside vent helps remove buildup near both openings and improves coverage through the full duct.
Can I use a vacuum instead of a dryer vent brush?
A vacuum removes loose lint but may not break up packed lint deep in the duct. The best method is to loosen the buildup with a brush and then collect it with a vacuum.
How often should I clean my dryer vent?
Many homes benefit from annual cleaning, but heavy use or a long duct may require more frequent service. Clean it sooner when drying time increases or outside airflow becomes weak.
Is it safe to use a drill with a dryer vent brush?
It can be safe when the brush kit allows drill use and you follow the instructions. Use low speed, keep the brush moving, and stop if the rods twist, bind, or become stuck.
What should I do if the dryer vent brush gets stuck?
Stop turning the brush and do not pull with extreme force. Reverse it slowly, inspect the duct from the other end, and call a professional if it will not come free.
Can a clogged dryer vent cause a fire?
Yes. Lint can restrict airflow and increase heat inside the exhaust system. Cleaning the vent lowers one known risk, but you should also clean the lint screen and repair damaged parts.
Conclusion
Learning how to clean dryer vent with brush is a practical way to improve airflow and support safer dryer operation. Unplug the appliance, disconnect the hose, brush the duct in short sections, vacuum the loosened lint, and clean the outside vent flap.
Use a proper nylon brush, avoid high drill speeds, and never force the tool through a blockage. If the duct runs through a roof or wall, contains a nest, or remains restricted after cleaning, call a qualified professional.
Set a reminder to inspect the vent at least once a year, and check the outside airflow every few months. Take care of this small task before it becomes a costly problem, and share your dryer vent cleaning experience or questions in the comments.



2 Comments