
Hang tools on a wall by finding studs, choosing strong hardware, spacing tools well, and testing each mount.
A well-planned wall can turn a messy garage, workshop, or shed into a safe and useful work zone. I have mounted hand tools, power tools, garden gear, and storage racks on many wall types, and the same rule always wins: plan the layout before drilling.
This guide explains how to hang tools on a wall with simple methods, safe weight limits, and practical tips. You will learn how to choose the right hardware, find wall studs, use pegboards, mount tool rails, and avoid common mistakes that cause tools to fall.
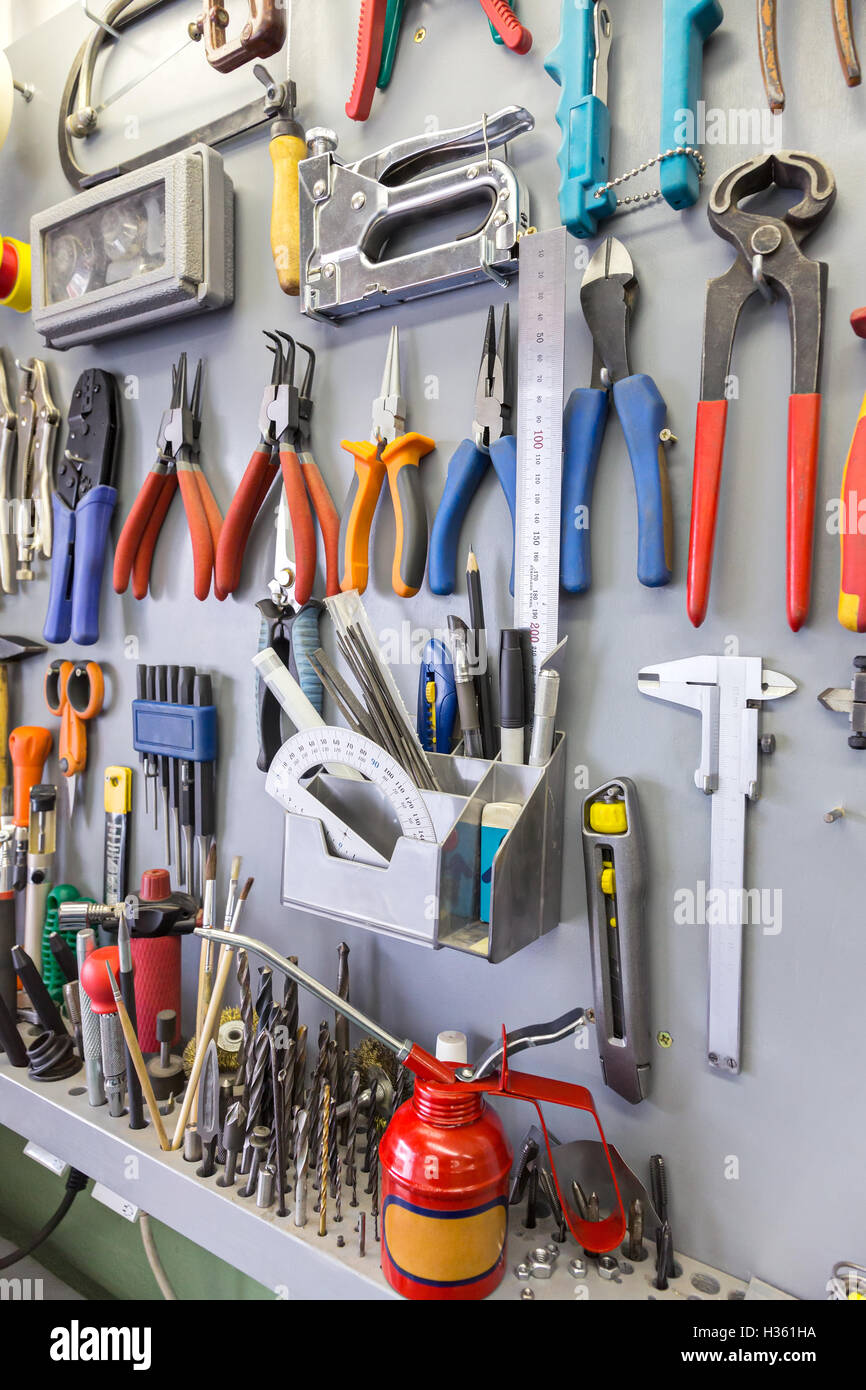
Why Hang Tools on a Wall?
Wall storage saves floor space and keeps your most-used tools within reach. It also makes your workspace easier to clean because tools no longer sit in piles on a bench or floor.
Learning how to hang tools on a wall can also protect your equipment. Tools that stay off damp floors are less likely to rust, while sharp edges are less likely to become trip hazards.
Good wall storage offers several benefits:
• Faster access to common tools
• Better use of small workspaces
• Fewer trip and fall risks
• Clearer tool visibility
• Easier cleaning and inventory checks
• More room for workbenches, vehicles, or storage bins
A wall is like a blank page. When every tool has a place, your workshop feels calmer and works better.
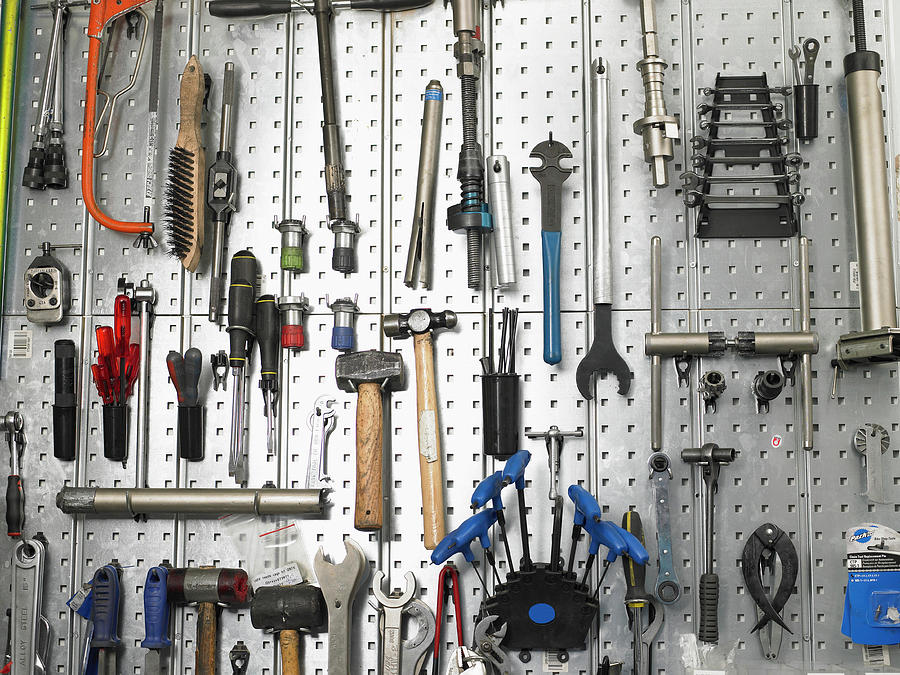
Choose the Right Wall Storage System
The best way to hang tools depends on the tool type, wall material, tool weight, and how often you use each item. A small screwdriver set needs a different system than a heavy circular saw.
Before buying hardware, group your tools by size and use. Place daily tools near your main work area. Store seasonal or bulky tools higher or farther away.
Pegboards
Pegboards are one of the most flexible options for hanging hand tools. Metal pegboards can support more weight than thin fiberboard models, but both work well when installed correctly.
Use pegboards for:
• Screwdrivers
• Pliers
• Wrenches
• Hammers
• Measuring tapes
• Small power tools
Choose hooks that lock into place if tools tend to move. Loose hooks can lift out when you grab a heavy item.
Wall rails and tool racks
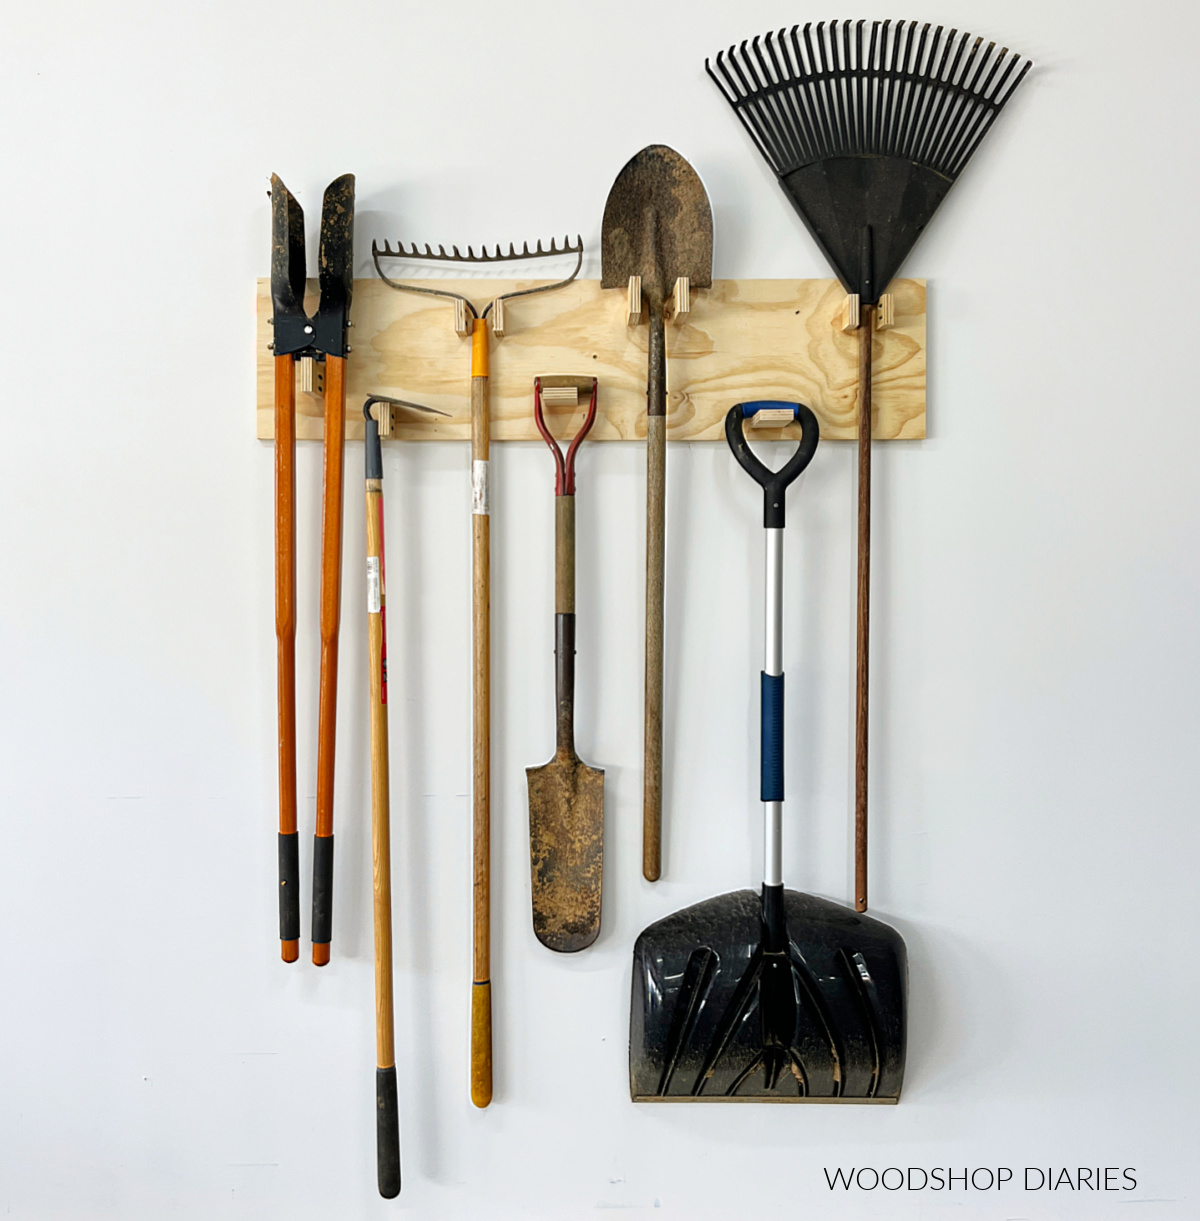
Wall rails use hooks, clips, or brackets to hold tools. They work well for shovels, rakes, hoses, clamps, and long-handled tools.
A rail is often faster to install than a large pegboard. It also gives you a clean look and lets you move tools without rearranging a full panel.
French cleats
A French cleat uses two angled pieces of wood. One piece attaches to the wall, and the matching piece attaches to the back of a cabinet, shelf, or tool holder.
This system spreads weight across a wider area. It is a strong choice for heavy storage boxes and wall cabinets, but it requires careful measuring and level installation.
Slatwall panels
Slatwall panels use horizontal grooves and special hooks. They look neat and offer good flexibility, especially in garages and home workshops.
Check the panel’s weight rating before hanging heavy power tools. The panel, brackets, and wall anchors must all support the load.
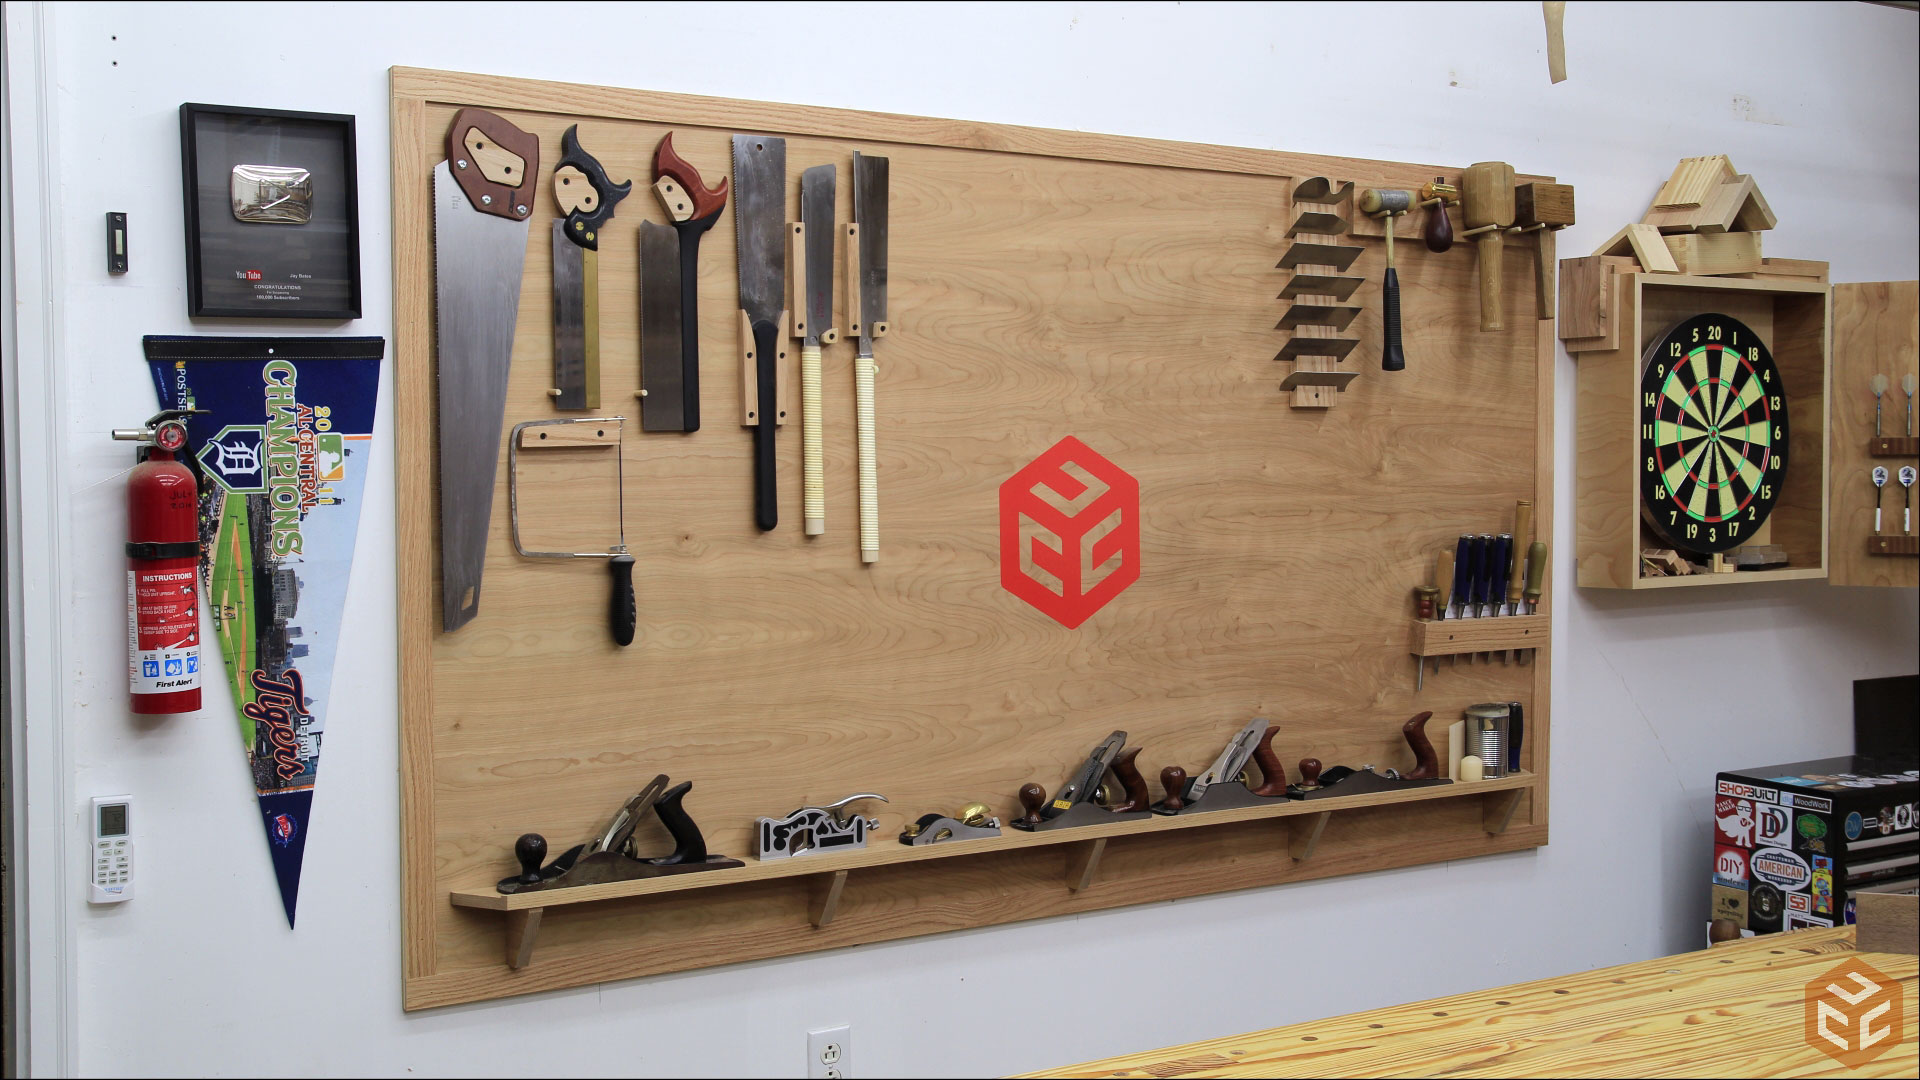
Inspect the Wall Before Drilling
A safe installation begins with the wall, not the hook. Drywall, concrete, brick, and wood walls need different fasteners.
Use a stud finder to locate the vertical framing members behind drywall. In many homes, studs are spaced about 16 inches apart, but spacing can vary.
Before drilling, check for hidden wires and pipes. Avoid areas directly above or below outlets, switches, sinks, and plumbing fixtures. When in doubt, turn off power and use a suitable detector.
Common wall types include:
• Drywall over wood studs
• Drywall over metal studs
• Plywood or solid wood
• Concrete block
• Brick
• Plaster
Drywall anchors can hold light items, but they are not a replacement for a stud when mounting heavy tools. For a large rack or cabinet, attach the rack to studs or use fasteners made for masonry.
I once mounted a tool rail into drywall using weak plastic anchors. It looked fine for a week. Then a loaded rail pulled away from the wall. The lesson was simple: the anchor must match both the wall and the load.
Gather the Tools and Hardware
The right supplies make the job faster and safer. You may not need every item below, but most wall storage projects use several of them.
• Tape measure
• Pencil
• Level
• Stud finder
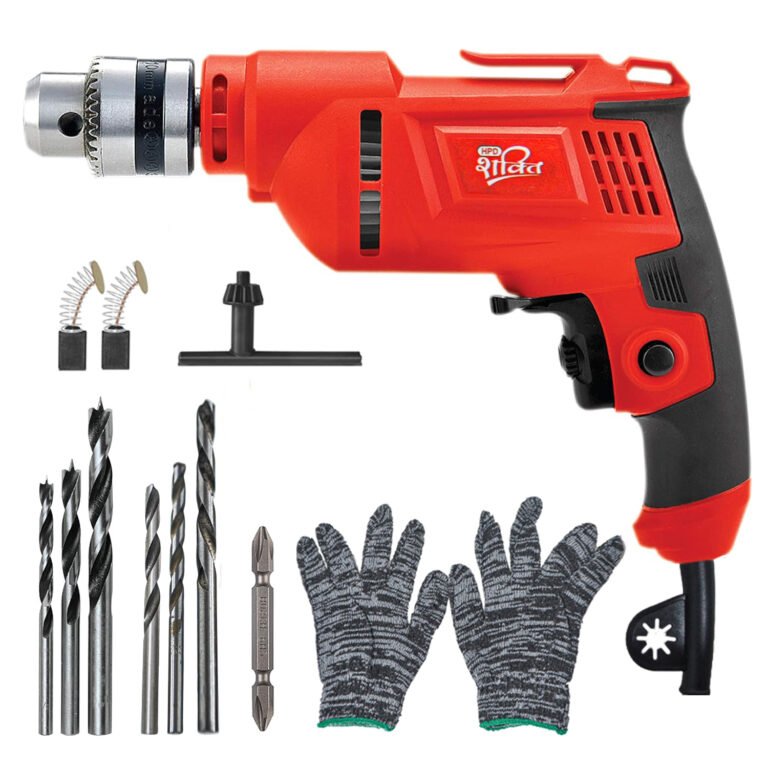
• Drill and drill bits
• Screwdriver
• Safety glasses
• Wall anchors
• Wood or masonry screws
• Washers
• Pegboard hooks or tool brackets
• Painter’s tape
• Label maker or marker
Select screws based on the mounting surface. Wood screws work well in studs. Masonry screws are made for concrete and brick. Hollow-wall anchors are designed for drywall, but their capacity varies.
Do not judge strength by screw length alone. A long screw in weak drywall may hold less than a shorter screw placed into a solid stud.
Check the product instructions for each bracket, rail, or pegboard. Hardware makers often list maximum weight ratings, but those ratings assume correct installation.

Plan the Tool Wall Layout
Planning is the most important part of learning how to hang tools on a wall. A poor layout can make a strong wall storage system annoying to use.
Start by placing your largest items. Then fill the open spaces with smaller tools. Keep enough space around each tool so you can remove it without hitting nearby items.
Use these layout rules:
• Keep frequently used tools between waist and shoulder height.
• Store heavy tools low enough to lift safely.
• Place sharp tools where children cannot reach them.
• Leave space around power tool handles and cords.
• Keep ladders and long tools away from doors and walkways.
• Place measuring tools near the workbench.
• Group tools by task, such as plumbing, woodworking, or automotive repair.
Painter’s tape helps you test a layout before drilling. Mark the outline of each tool or rack on the wall. Live with the layout for a day if you can.
A useful trick is to arrange tools in the same order you use them. For example, place a tape measure, pencil, square, and saw near the start of a woodworking station. This saves small amounts of time that add up during a project.
How to Hang Tools on a Wall Step by Step
The following process works for most pegboards, rails, hooks, and simple tool racks.
1. Measure the available space
Measure the wall width and height. Account for doors, windows, outlets, workbenches, and ceiling clearance.
Write down the measurements. Guessing often leads to crowded tools or holes in the wrong place.
2. Mark the mounting points
Hold the rack or panel against the wall. Mark the screw holes with a pencil.
Use a level across the top edge. A small error at one end can become very visible across a long rail.
3. Find studs or choose suitable anchors
Use a stud finder and mark each stud. If the mounting holes do not line up with studs, choose a suitable anchor for the wall material.
For heavy racks, add a wood mounting board across two or more studs. Attach the rack to this board. This creates more mounting options and spreads the load.
4. Drill pilot holes
Drill pilot holes that match the screw and wall material. Pilot holes help prevent split wood and make it easier to keep screws straight.
For masonry, use the drill bit size listed for the masonry screw or anchor. Wear eye protection because concrete and brick create fine dust.
5. Attach the storage system
Start with one screw near the center or one end. Do not fully tighten it yet. Add the other screws, check the level again, and then tighten everything.
Use washers when the mounting holes are large or when the material could bend under pressure.
6. Add hooks and holders
Place the hooks based on your layout. Put heavier tools closer to supported mounting points when possible.
For pegboards, use locking clips or retainers if the hooks slide out when tools are removed.
7. Test the wall storage
Apply light pressure before loading tools. Add tools slowly rather than placing the full load on the wall at once.
If the rack shifts, creaks, bends, or pulls away from the wall, remove the load and correct the installation.
How to Hang Heavy Tools Safely
Heavy tools need more than a basic hook. A loaded tool wall can place strong pulling force on screws and anchors, especially when you remove a tool with one hand.
For heavy items, use one or more of these methods:
• Fasten directly into wall studs.
• Install a plywood backer board across several studs.
• Use lag screws with washers for solid wood framing.
• Use rated masonry anchors for concrete or brick.
• Choose brackets with a stated weight capacity.
• Use two or more mounting points.
• Keep the heaviest items low.
Always consider dynamic load. A tool that weighs 30 pounds may place more force on a bracket when it is lifted, pulled, or dropped onto a hook.
Do not hang a tool from a cord, trigger, blade, or other fragile part. Use the tool’s frame, handle, or a support designed for its shape.
For table saws, miter saws, welders, air compressors, and similar equipment, a floor stand may be safer than wall storage. Wall mounting is not the best answer for every tool.

How to Hang Tools on Drywall
Drywall is common, but it can fail when overloaded. The paper surface is not strong enough to support heavy tools by itself.
For light tools, use rated drywall anchors. Expansion anchors, threaded anchors, and toggle-style anchors each work in different ways. Read the package instructions and match the anchor to the screw size.
For medium or heavy storage, use a stud or backer board. A plywood backer attached to multiple studs is often the most useful solution for a garage tool wall.
Avoid these mistakes:
• Using a small plastic anchor for a heavy rack
• Installing too close to a drywall edge
• Overtightening until the drywall crumbles
• Hanging tools before the anchor sets
• Trusting a weight rating without checking the wall
If you cannot find a stud, consider moving the storage system or opening a small section of drywall to install proper blocking. Repairing one small area is better than repairing a fallen cabinet and damaged tools.
How to Hang Tools on Concrete or Brick
Concrete and brick can support strong storage, but drilling requires the right bit and anchor. A standard wood drill bit will not work well on masonry.
Mark the hole and use a masonry bit. Drill to the depth listed by the fastener maker. Clean dust from the hole so the anchor can grip properly.
For concrete block, avoid weak hollow sections when possible. A fastener placed in solid material usually provides better support than one placed in a thin shell.
Brick can crack if you drill too close to an edge or use too much force. Use slow, steady pressure and avoid impact mode unless the anchor instructions allow it.
Wear safety glasses and a dust mask during masonry work. Keep electrical cables and water lines in mind, even when working on a hard wall.
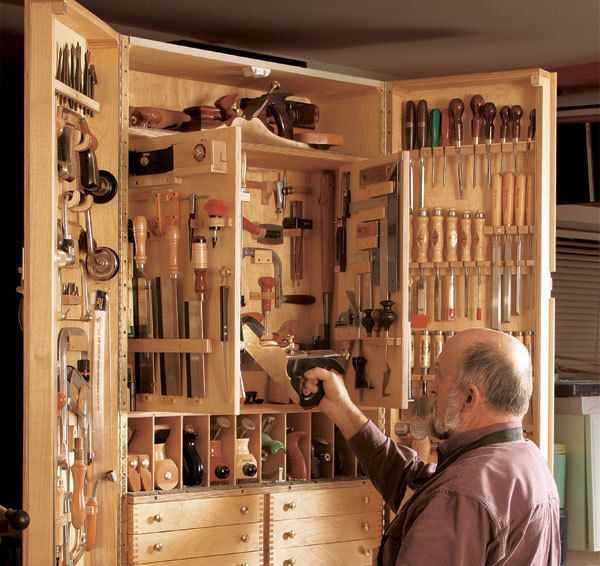
Organize Tools for Speed and Safety
A tool wall should do more than look neat. It should help you work with less strain and fewer interruptions.
Use the “first reach” zone for tools you use every day. This area usually sits from waist to shoulder height. Store heavier items between knee and waist height when practical.
Create clear groups such as:
• Hand tools
• Power tools
• Measuring tools
• Fasteners
• Automotive tools
• Garden tools
• Painting supplies
• Safety equipment
Outline the tool shape on a pegboard or add labels to hooks and bins. Outlines make missing tools easy to spot. Labels also help other people return tools to the correct place.
Keep safety glasses, gloves, hearing protection, and dust masks near the work area. Safety gear is more likely to be used when it is visible and easy to reach.
Common Mistakes to Avoid
Many failed tool walls come from small planning errors. Avoiding them is easier than fixing them later.
Using the wrong anchor
An anchor made for a picture frame may not support a loaded tool rack. Check the anchor’s capacity and installation method.
Ignoring the wall material
A screw that works in a wood stud may fail in concrete or hollow drywall. Identify the wall before choosing hardware.
Overloading one hook
Spread tools across several hooks. A single hook may bend or pull free when it carries too much weight.
Skipping the level
A crooked rail can make tools slide toward one side. It also looks less professional and may place uneven stress on the mounting points.
Storing sharp tools carelessly
Cover saw blades, chisels, and sharp garden tools when possible. Position them so handles face outward and cutting edges face away from normal movement.
Blocking electrical panels or exits
Never cover an electrical panel, emergency exit, furnace access point, or important shutoff. Required clearance rules may apply in your area.
Mounting tools too high
A heavy tool above your head can cause injury if it falls. Store light items overhead and keep heavy equipment within a safe lifting zone.
How to Maintain a Wall-Mounted Tool System
Inspect your wall storage every few months. Look for loose screws, bent hooks, cracked panels, and wall damage.
Give the system extra attention after an earthquake, strong impact, water leak, or major rearrangement. These events can weaken anchors even when the damage is not easy to see.
Use a simple maintenance routine:
• Remove dust from hooks and shelves.
• Tighten loose screws carefully.
• Replace bent or cracked hardware.
• Check that anchors remain flush with the wall.
• Remove tools you no longer use.
• Confirm that heavy items remain within the rated capacity.
• Keep cords and hoses from pulling on mounted tools.
I also suggest a yearly tool audit. If a tool has not been used in a year, move it to a cabinet or storage bin. A tool wall works best when it displays useful equipment rather than every item you own.
Frequently Asked Questions About How to Hang Tools on a Wall
What is the best way to hang tools on a wall?
The best method depends on the wall and the tool weight. Pegboards work well for light and medium hand tools, while studs, backer boards, and rated brackets are better for heavy tools.
Can I hang heavy tools directly on drywall?
You should not rely on ordinary drywall for heavy tools. Fasten the storage system to wall studs or install a strong backer board secured to several studs.
How high should tools be mounted on a wall?
Place frequently used tools between waist and shoulder height. Keep heavy tools low enough to lift safely, and reserve high spaces for light items.
Are pegboards strong enough for power tools?
A properly installed metal or reinforced pegboard can hold many power tools. Check the panel and hook ratings, and attach the panel securely to studs or a suitable backer board.
How do I hang tools on a wall without studs?
Use anchors rated for your wall type and the full load. For heavy storage, install blocking or a backer board rather than trusting small drywall anchors.
Should I use screws or nails to hang tools?
Screws usually provide better holding power and make future adjustments easier. Choose screws that match the wall material and the bracket design.
How can I stop pegboard hooks from falling out?
Use locking pegboard hooks, retaining clips, or a small amount of hardware made for securing hooks. Arrange tools so you pull them outward instead of lifting hooks up.
Conclusion
Learning how to hang tools on a wall starts with a safe plan. Identify the wall material, find studs, choose rated hardware, and place tools where you can reach them without strain.
Pegboards, rails, French cleats, slatwall panels, and custom backer boards can all work well when matched to the job. Test the installation before adding the full load, and inspect it from time to time.
Start with the tools you use most. Build one organized section, learn what works in your space, and expand from there. Share your own workshop layout or explore more storage guides to create a wall that makes every project easier.


One Comment