
Attach a utility sink to a wall by securing its mounting bracket to studs, then connect the basin, drain, and water lines.
Learning how to attach utility sink to wall is a useful skill for laundry rooms, garages, and workshops. The job looks simple, but the sink can hold heavy water and laundry loads, so strong support matters. This guide explains the tools, wall checks, mounting steps, plumbing work, safety checks, and common mistakes in clear terms. It also covers what to do when no wall studs line up with the sink bracket.
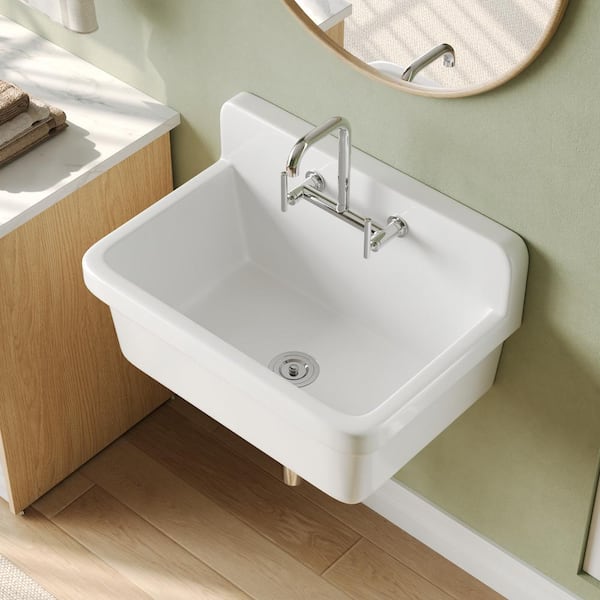
Understand how a wall-mounted utility sink works
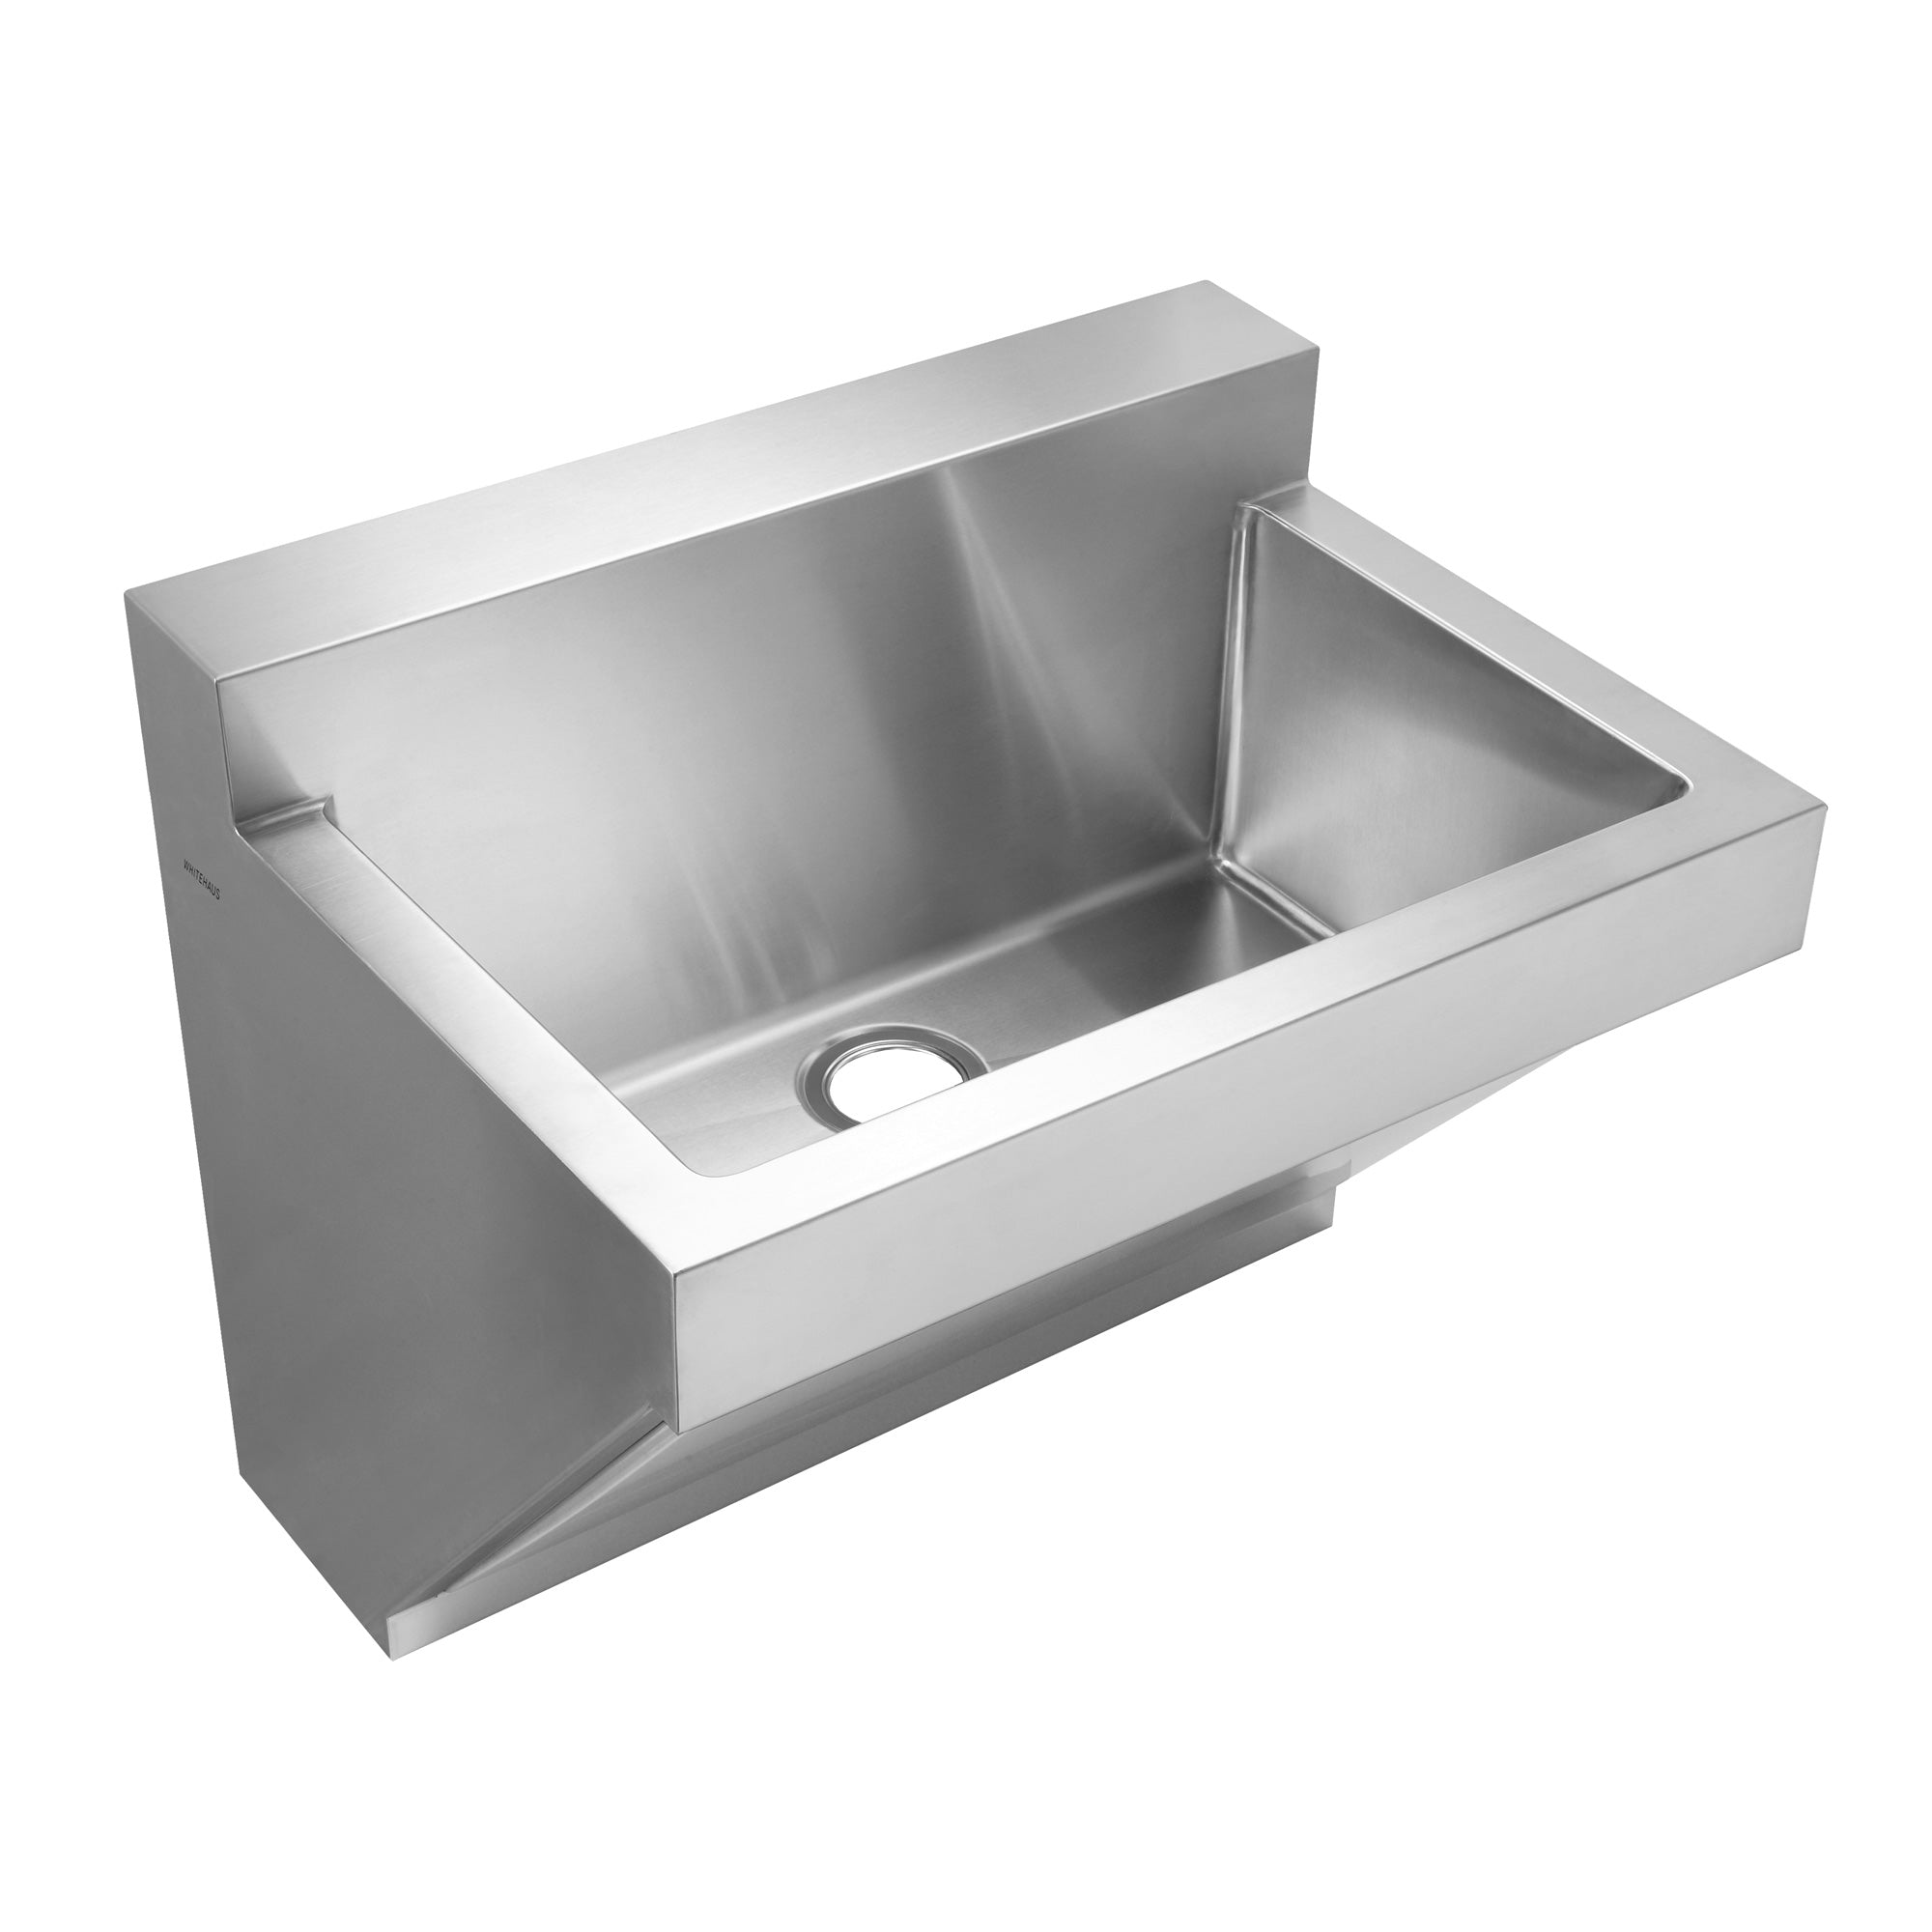
A wall-mounted utility sink hangs from a metal bracket, mounting rail, or built-in frame. The wall carries the weight instead of the floor. The sink may also use legs, a cabinet, or a lower support frame.
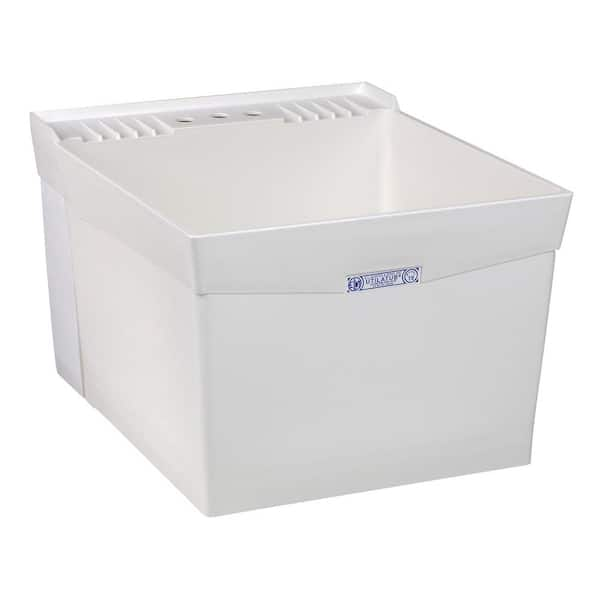
Before learning how to attach utility sink to wall, check the sink design. Some laundry sinks are made only for floor or cabinet installation. They may crack or pull away from the wall if you drill into the back without a proper mounting system.
Look for these parts:
• Mounting holes or a metal hanger on the back of the sink
• A manufacturer-supplied wall bracket
• A steel support rail or cleat
• Instructions that show wall mounting
• A drain opening and faucet holes
A filled utility sink can become very heavy. Water weighs about 8.3 pounds per gallon. A 20-gallon basin can hold more than 160 pounds of water before you add tools, clothes, or cleaning items. This is why a strong connection to wall studs is more reliable than basic plastic anchors.
Check the wall material
The wall type changes the mounting method.
• Wood studs need structural screws or lag screws.
• Concrete or masonry walls need masonry bits and approved concrete anchors.
• Metal studs may need reinforcement, toggle-style anchors rated for the load, or a framed support.
• Drywall alone is not a safe support for a large utility sink.
If you cannot find a solid mounting point, open a small part of the wall or add a wood backing board between studs. A backing board spreads the load across more than one stud.
Confirm the sink height
A common sink rim height is about 32 to 36 inches from the floor, but your room and sink may need a different height. Leave enough room below the basin for the drain trap and supply valves.
Think about how you will use the sink. A lower height may help children or users who need easier access. A higher height may feel better for hand washing or workshop tasks. Always check the faucet reach before fixing the sink in place.

Gather the tools and materials
Good preparation makes how to attach utility sink to wall much easier. You do not need every tool in a professional van, but you do need the right fasteners and measuring tools.
Basic tools
• Stud finder
• Tape measure
• Pencil
• Level
• Drill and drill bits
• Screwdriver or driver bit
• Adjustable wrench
• Basin wrench
• Pliers
• Hole saw, if a new pipe opening is needed
• Silicone caulk gun
• Bucket and towels
• Safety glasses
Common materials
• Wall mounting bracket or steel support rail
• Structural screws or lag screws
• Washers
• Wood backing board, if needed
• Masonry anchors for concrete walls
• Faucet and faucet supply lines
• Sink drain assembly
• P trap
• Tailpiece and slip nuts
• Shutoff valves, if the existing valves are worn
• Plumber’s tape for threaded connections
• Plumber’s putty, when approved for the drain assembly
• 100 percent silicone sealant
Choose fasteners based on the wall and the sink instructions. A long screw is not automatically a strong screw. It must enter sound framing or a correctly rated anchor.
Do not use drywall screws for this task. They are hard and brittle, and they are not made for carrying a changing load in a wet room.
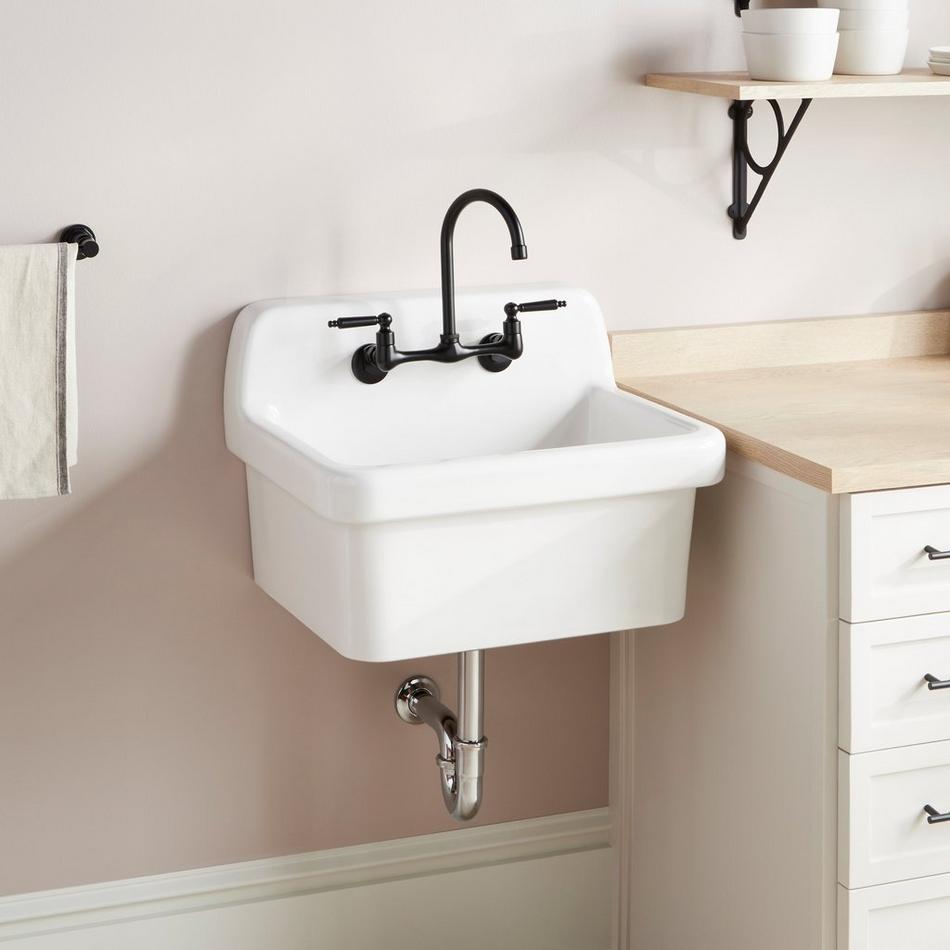
Inspect the plumbing before mounting
The best time to inspect plumbing is before the sink covers the wall. Look for water supply pipes, drain lines, electrical cables, and wall damage.
Turn off the water supply before removing an old sink or opening a pipe. Open the faucet to release pressure. Keep a bucket under the old trap because water often remains inside it.
Check the following points:
• The hot and cold supply lines should reach the faucet connections.
• The drain should line up with the sink outlet.
• The drain opening should be high enough for the P trap.
• The wall should be dry and free from mold or rot.
• The faucet should not hit the wall or backsplash.
• The sink should not cover an electrical outlet that must remain accessible.
If the drain enters the wall too low or too high, do not force the trap into position. A strained drain can leak slowly inside the wall. In some cases, a licensed plumber should move the drain or supply lines.
Plumbing rules differ by location. Drain trap height, venting, cleanouts, and shutoff valves must follow your local plumbing code. Manufacturer instructions also matter. When the local code and product instructions differ, ask the local building department or a qualified plumber before continuing.
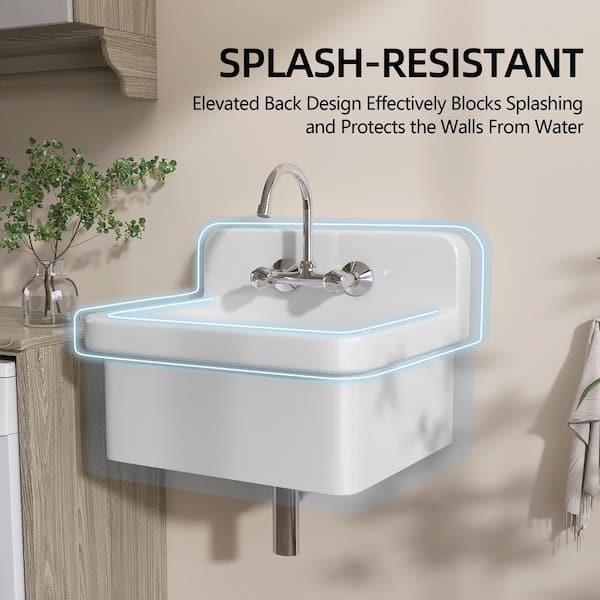
Find the studs and plan the bracket
Finding the studs is the most important part of how to attach utility sink to wall. Start by locating the center of each stud with a stud finder. Confirm each location with a small probe hole or by measuring from a known corner.
Most wood studs are spaced 16 inches on center, but older homes may use different spacing. Never assume the layout without checking.
Hold the bracket against the wall at the planned height. Use a level to keep it straight. Mark every mounting hole that will land on solid framing.
What if the holes do not match the studs?
You have several safe options:
• Use a wider steel mounting rail that reaches two or more studs.
• Install a wood backing board between the studs.
• Add a framed support inside the wall.
• Use properly rated anchors only when the sink manufacturer and anchor maker allow them.
A 3/4-inch plywood backing board can work for some installations when it is firmly attached to at least two studs. Use structural screws long enough to pass through the drywall and backing and enter the studs. Paint or seal the board if it may contact moisture.
For a masonry wall, mark the anchor points and use a masonry bit. Clean dust from each hole before placing the anchor. Follow the anchor package for hole size, embedment depth, and tightening force.
Do not hang a heavy sink from a single stud unless the product instructions specifically allow it and the fastener system is designed for that load. A sink needs broad support, much like a shelf loaded with wet towels.

Attach the wall bracket
The bracket should be flat against the wall, level from side to side, and firmly fastened.
Follow these steps:
-
Measure the desired sink rim height from the finished floor.
-
Mark the bracket’s top edge on the wall.
-
Place the bracket over the marks.
-
Check it with a level.
-
Mark the screw holes that meet studs or approved anchors.
-
Drill pilot holes that match the fastener instructions.
-
Drive structural screws with washers through the bracket.
-
Tighten the screws until the bracket is firm, but do not crush the bracket or drywall.
-
Check the level again.
If the wall is uneven, do not bend the bracket to make it fit. Use solid shims approved for the installation, then fasten through the shims into the framing. An uneven bracket can twist the sink and create stress around the basin.
This is also the stage to install any lower legs or support frame. Some utility sinks use both a wall bracket and legs. The legs help control movement, but they should not replace the main wall support unless the sink is designed as a floor-mounted model.
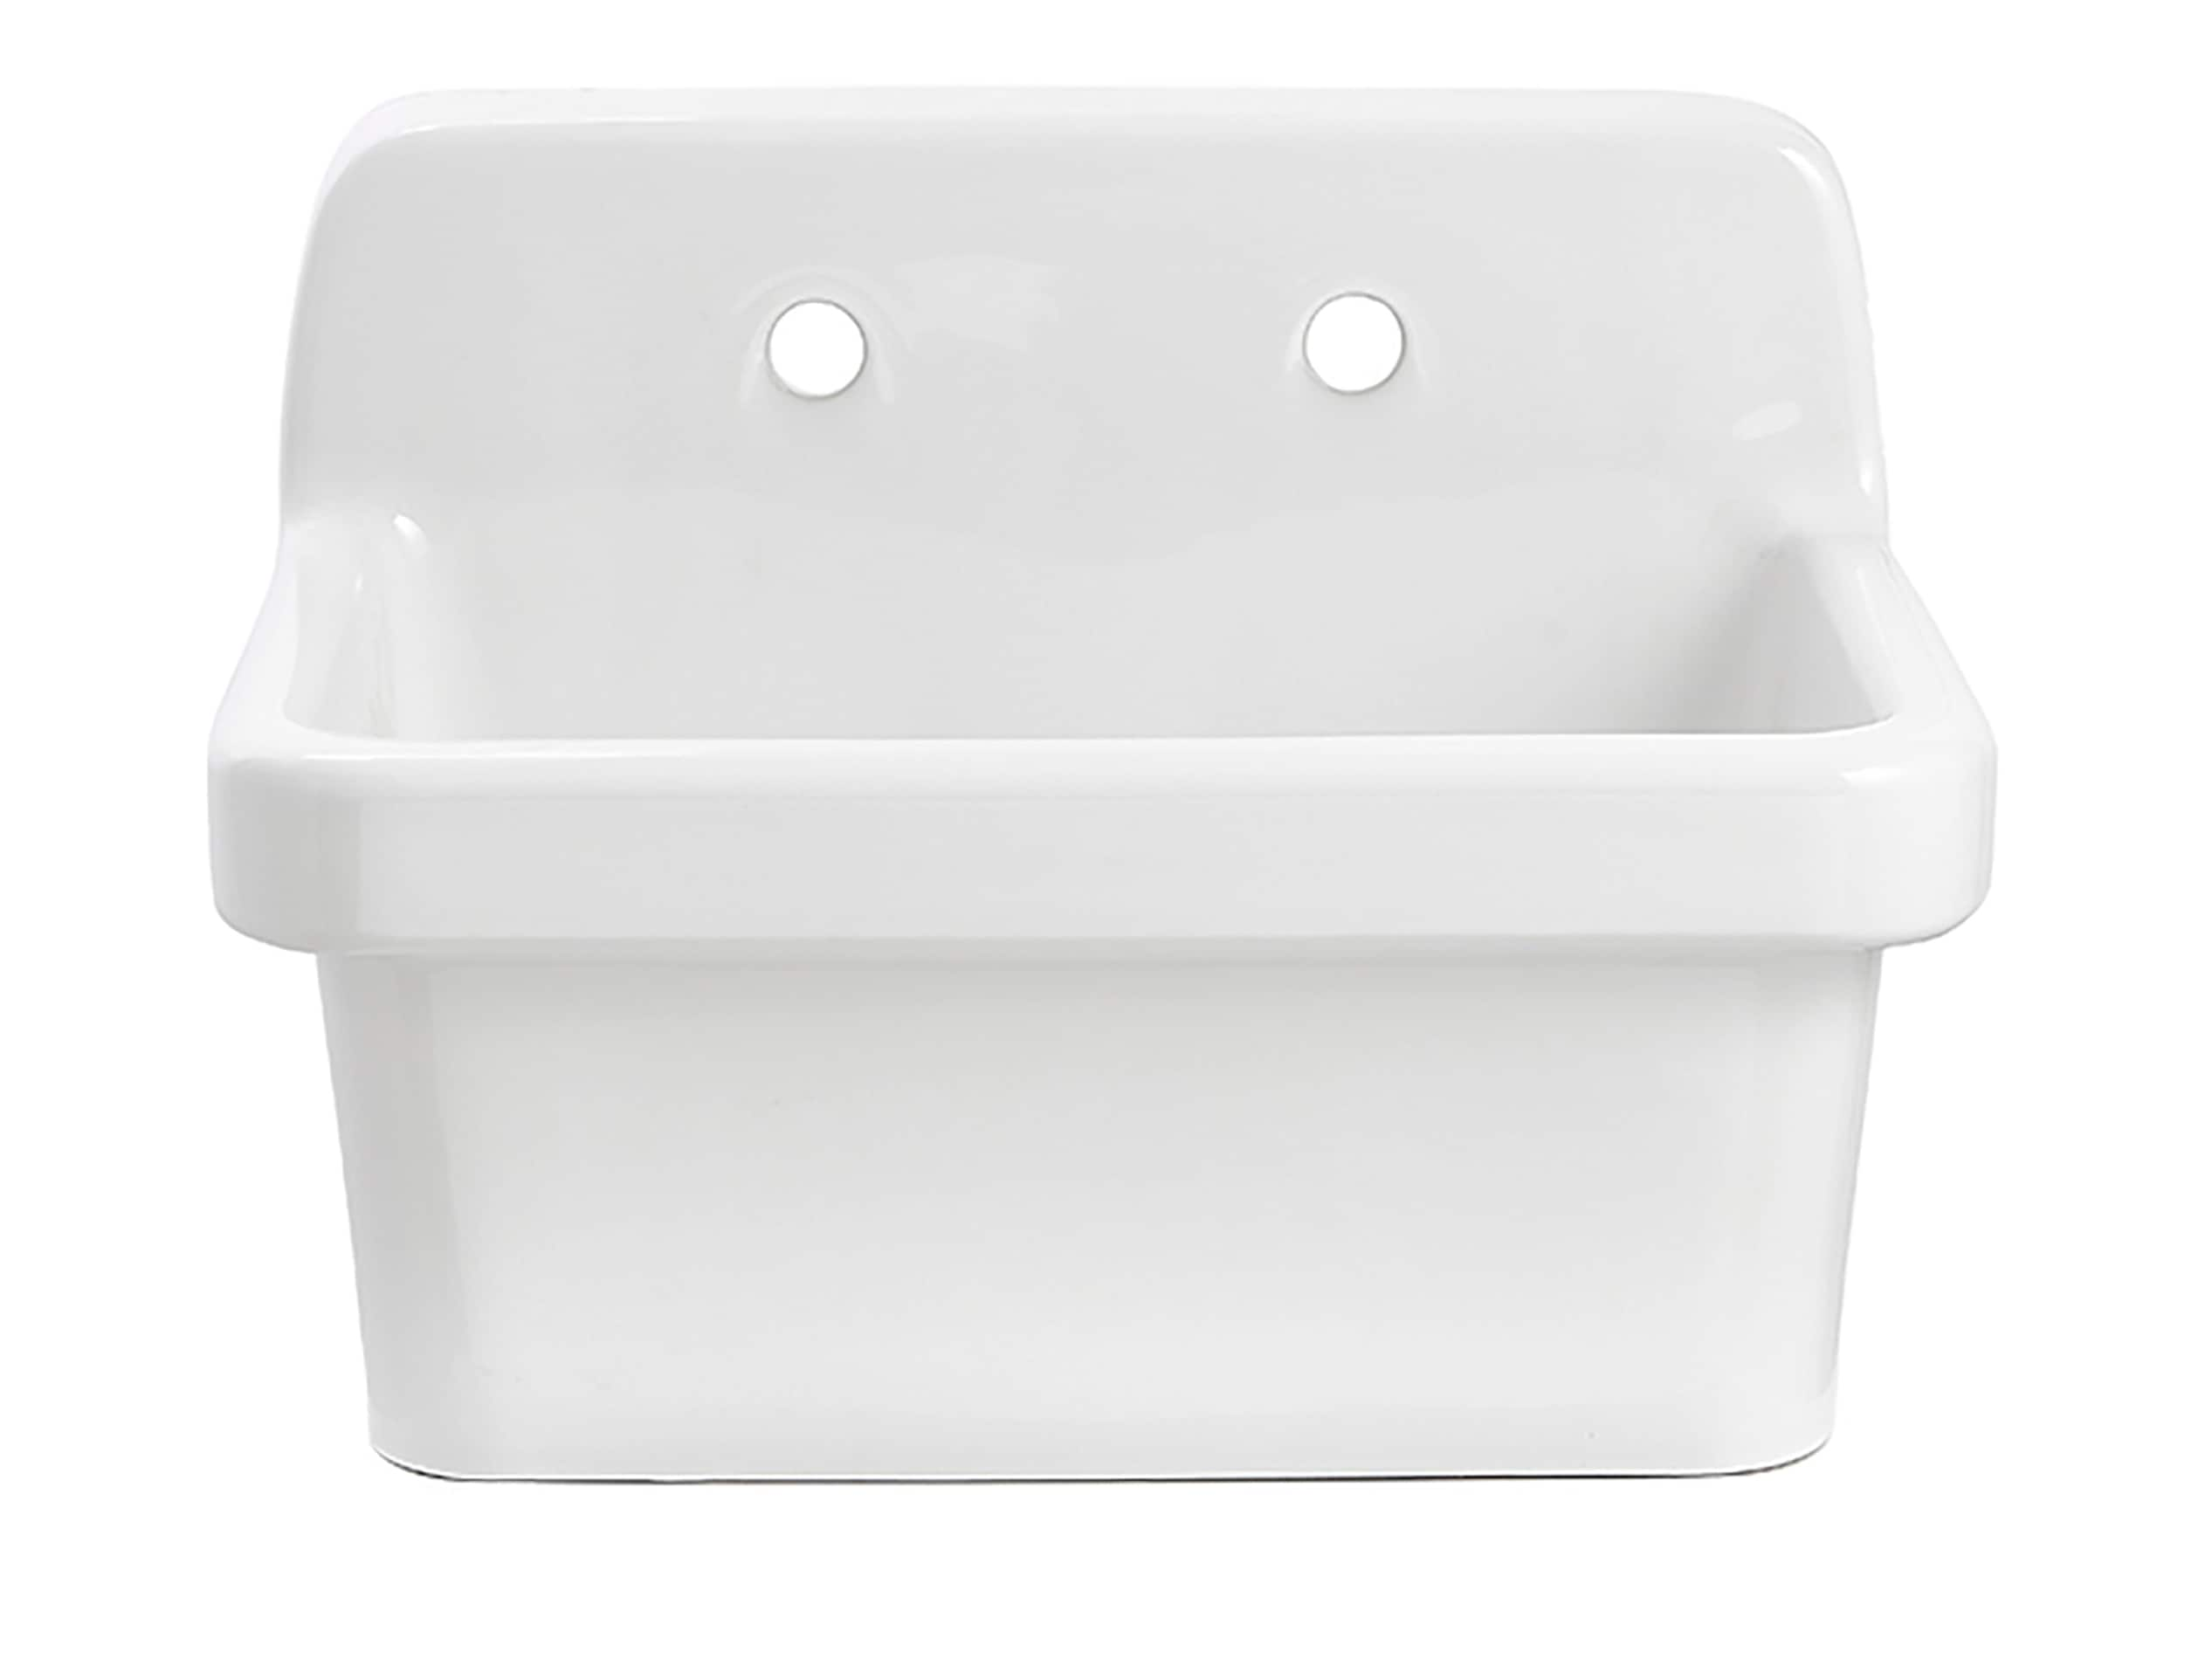
Mount the utility sink to the wall
With the bracket secure, lift the sink into place. Large laundry sinks can be awkward, so ask another adult to help. Do not try to hold the basin with one hand while driving screws with the other.
Set the sink onto the bracket or hanger. Make sure the mounting tabs are fully seated. If the sink has locking screws, install them through the correct holes.
Use a level across the front rim and from front to back. Make small adjustments before tightening the final screws.
Check these points:
• The sink sits fully on the bracket.
• The basin does not rock.
• The mounting screws do not contact the bowl in a way that may crack it.
• The wall bracket remains level.
• The faucet holes face the correct direction.
• The drain opening lines up with the wall drain.
Avoid overtightening screws against a plastic or fiberglass basin. Plastic can flex, but it can also crack when squeezed. Tighten the fasteners until the sink is secure, then test for movement by applying gentle pressure at the rim.
A small gap between the sink and wall may be sealed with silicone when the product instructions permit it. Sealant should stop water from entering the wall, but it should never be treated as structural support.
Install the faucet and drain
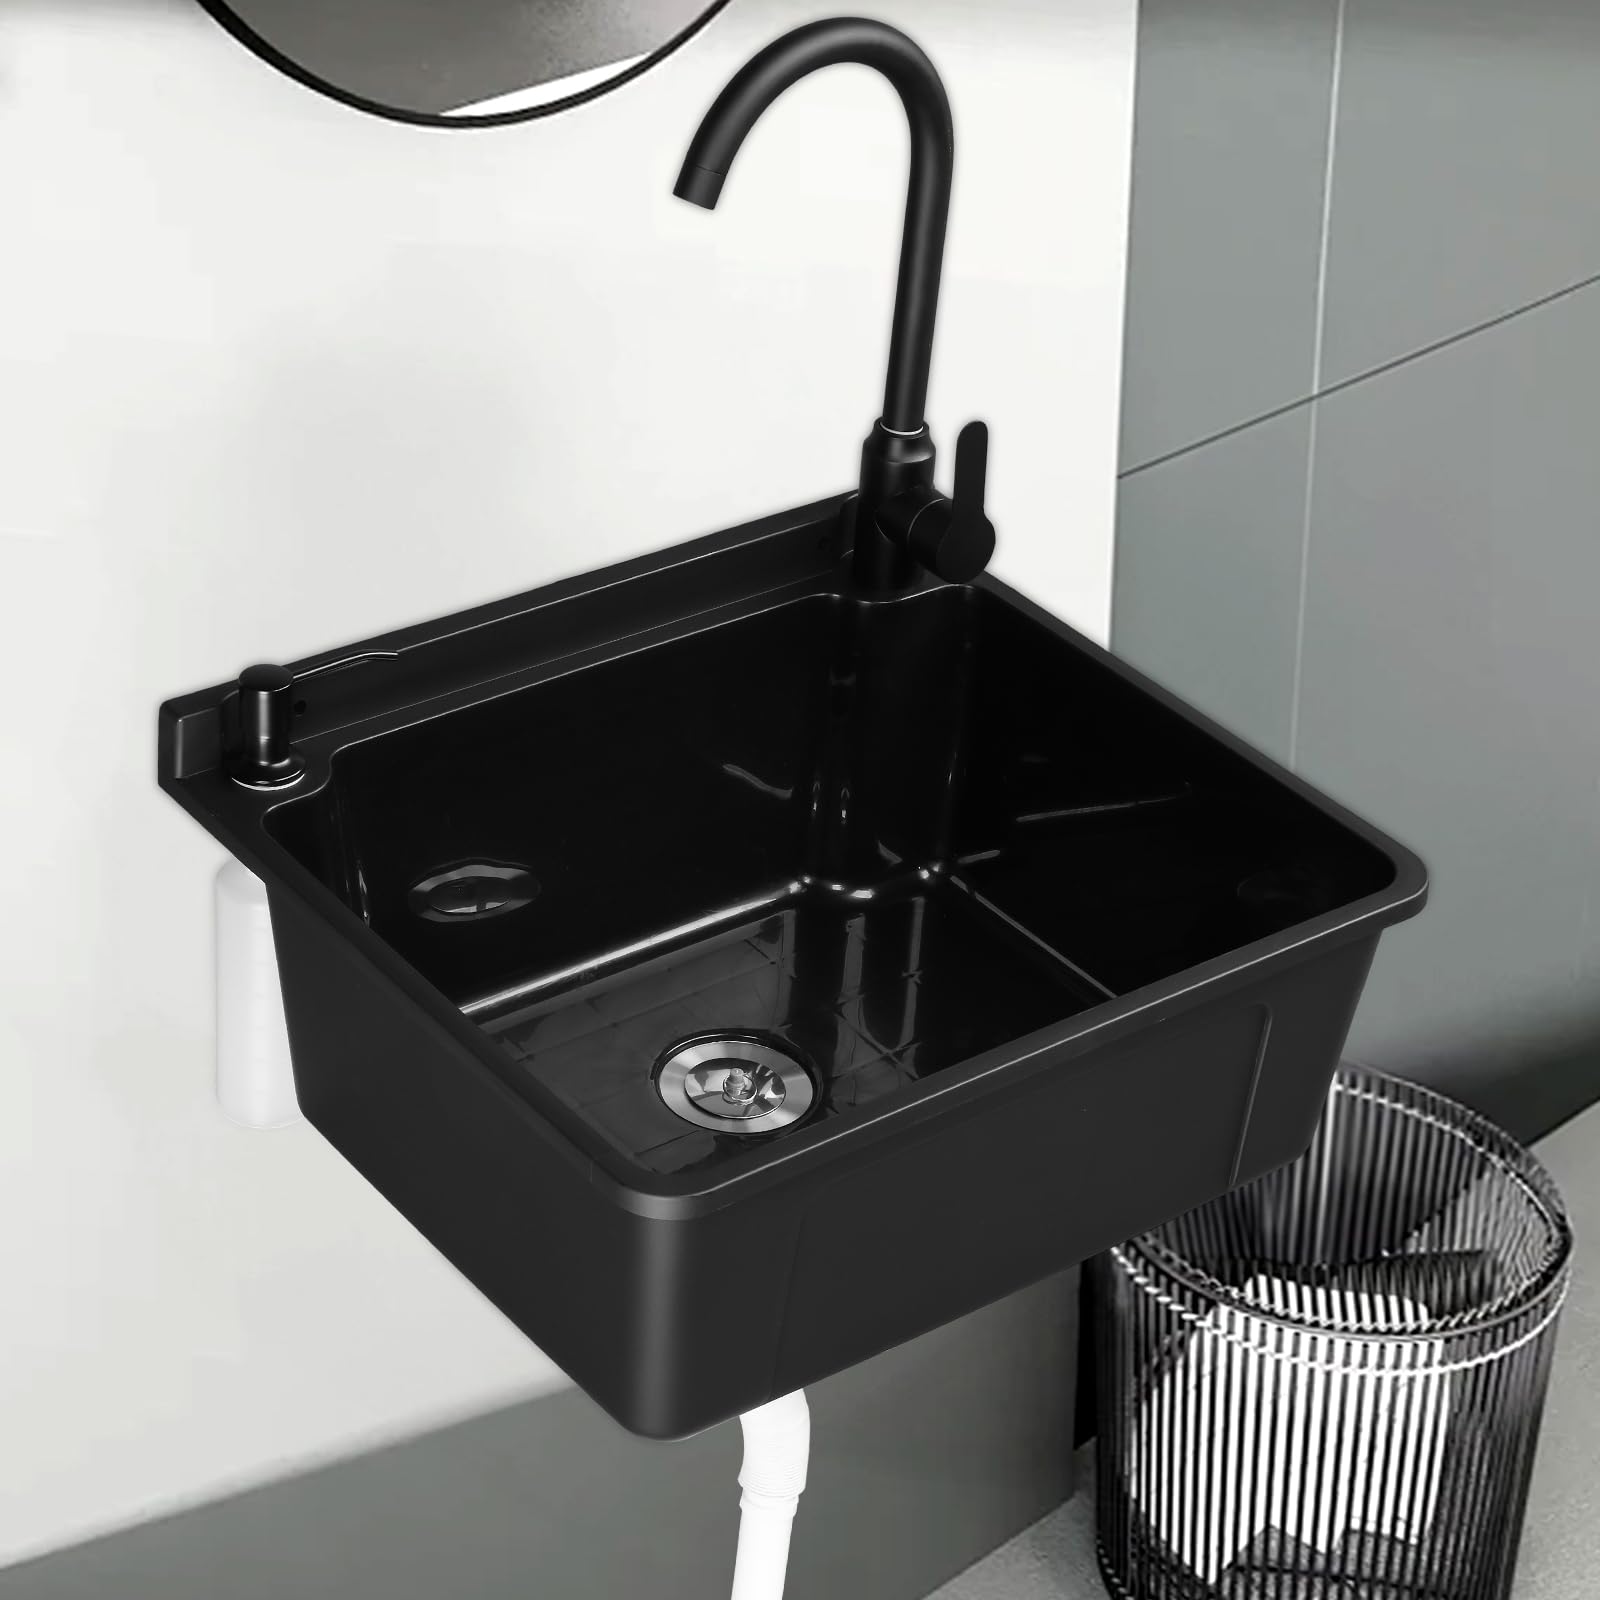
Install the faucet before the sink becomes difficult to reach. Follow the faucet instructions for the gasket, washer, and retaining nut.
Place the drain flange through the sink opening. Use the seal recommended by the drain maker. Many drains use plumber’s putty, while some use a rubber gasket or silicone. Do not use plumber’s putty on materials that the manufacturer says may stain or weaken.
Tighten the drain body from below while keeping the flange centered. Remove extra sealant from inside the basin.
Next, connect the tailpiece and P trap. Keep the trap as straight and compact as possible. The trap should hold water to block sewer gas, while the drain line should maintain the correct slope toward the wall.
Use slip-joint washers in the correct direction. Hand-tighten the nuts first, then give them a small additional turn with pliers. Excess force can distort the washer and cause a leak.
Do not use plumber’s tape on slip-joint threads. Tape is for certain tapered threaded connections, not for joints that seal with a washer. Use tape only where the fitting instructions call for it.
Connect the faucet supply lines to the shutoff valves. Hot water usually connects to the left side and cold water to the right, but follow the faucet labels. Do not twist or sharply bend braided supply lines.
Test the sink for leaks and movement
Testing is a key part of how to attach utility sink to wall. Keep a dry paper towel under each connection. A tiny drip will show on the towel before it becomes obvious on the floor.
Use this test sequence:
-
Make sure the faucet is off.
-
Open both shutoff valves slowly.
-
Watch the supply line connections.
-
Run cold water for one minute.
-
Run hot water for one minute.
-
Fill the basin halfway.
-
Release the water and inspect the drain and trap.
-
Check the wall behind the sink.
-
Press gently on the front rim to check for movement.
If a threaded connection leaks, close the water valve and correct the seal. If a slip-joint connection leaks, check the washer position and alignment. Never keep tightening a leaking plastic nut without finding the cause.
Fill the basin again and drain it at full flow. This test places more demand on the drain than a slow faucet stream. Watch for a loose trap, a slow drain, or water backing up.
A slight flex in a plastic sink may be normal. The sink should not pull away from the wall, shift on the bracket, or make cracking sounds. If it does, stop using it and inspect the mounting points.
Common mistakes to avoid
Many problems with wall-mounted utility sinks come from rushing the support or plumbing steps.
Mounting to drywall only
Drywall anchors may hold a picture frame, but most are not suitable for a large sink filled with water. Always connect the bracket to studs, masonry, or a properly built support.
Skipping the level check
A sink that is slightly out of level may drain poorly. It can also place uneven stress on the bracket and make the faucet look crooked.
Using the wrong bracket
A bracket made for a small hand basin may not support a deep laundry sink. Check the bracket’s load rating and confirm that it fits the sink model.
Forcing the drain
A drain trap should align naturally. Force can stress the sink tailpiece, wall fitting, or trap joints.
Sealing before testing
Do not apply final silicone until the faucet and drain have passed a leak test. Sealant can hide a slow leak and make repairs harder.
Ignoring wall damage
Soft drywall, stains, or a musty smell may point to a past leak. Repair damaged framing before mounting the sink. Fasteners cannot hold well in rotten wood.
Forgetting service access
Leave room to reach shutoff valves, the P trap, and cleanouts. A sink that looks neat but cannot be serviced becomes a headache later.
From field repairs I have seen, the most common failure is not the sink itself. It is a bracket fastened into weak material or a drain that was forced into alignment. Spending ten extra minutes on stud checks and dry fitting can prevent a full wall repair.
When to call a professional
Some parts of how to attach utility sink to wall are suitable for careful DIY work. Other conditions call for a licensed plumber, contractor, or electrician.
Ask for professional help when:
• The wall has no clear framing.
• The sink is unusually large or commercial grade.
• The drain must be moved inside the wall.
• A new vent or drain line is required.
• The wall contains unknown electrical wiring.
• You find mold, rot, or major water damage.
• The wall is masonry and you are unsure which anchors to use.
• The sink will serve a business, rental, or public space.
• Local rules require a permit or inspection.
A professional can also confirm whether the wall can handle the load. This is especially important in older homes, manufactured homes, and walls with metal studs.
Do not guess about electrical safety. Keep water away from electrical outlets and follow required ground fault protection rules. If a receptacle must be moved or installed, use a qualified electrician.
Frequently asked questions about how to attach utility sink to wall
Can I attach a utility sink to drywall?
No. Drywall alone is not a dependable structural support for a utility sink. Fasten the bracket to wall studs, masonry, or a properly installed backing structure.
How high should a wall-mounted utility sink be?
Many utility sinks are installed with the rim about 32 to 36 inches above the floor. Use the manufacturer’s height, your plumbing layout, and the needs of the people using the sink.
Do wall-mounted utility sinks need legs?
Some models do, and some do not. Follow the sink instructions because legs may provide extra support, reduce movement, or be required for the product warranty.
Can I use toggle anchors for a utility sink?
Only if the sink maker and anchor maker approve the system for that load. Studs or masonry are usually the safer choice because a filled utility sink can weigh hundreds of pounds.
How do I stop a utility sink from moving?
Check that the bracket is level and firmly attached to structural framing. Install all required locking screws and support legs, then confirm that the wall itself is not weak or damaged.
Should I use plumber’s putty or silicone on the drain?
Use the seal recommended by the drain manufacturer. Plumber’s putty works for many metal drain flanges, while some plastic or specialty drains require silicone or a rubber gasket.
Why does my utility sink drain slowly after installation?
The trap may be misaligned, the drain may lack the correct slope, or the line may have a venting problem. Check for a kink or blockage, then contact a plumber if the issue continues.
Conclusion
Learning how to attach utility sink to wall starts with choosing a sink made for wall mounting and finding strong support behind the wall. Secure the bracket to studs or approved masonry anchors, keep the sink level, align the plumbing without force, and test every connection before sealing the edges.
Take your time with the support system. A careful layout now can prevent leaks, cracked basins, and wall damage later. Gather the instructions, inspect your wall, and use a qualified professional when the framing or plumbing is uncertain. If this guide helped, explore more home repair resources or share your installation experience in the comments.





3 Comments